

Contents
– Choose the right shower hose
– Step 1: Unscrew the fittings
– Step 2: Place the joints at the ends of the hose
– Step 3: Screw the fittings back on
– Step 4: Check the installation
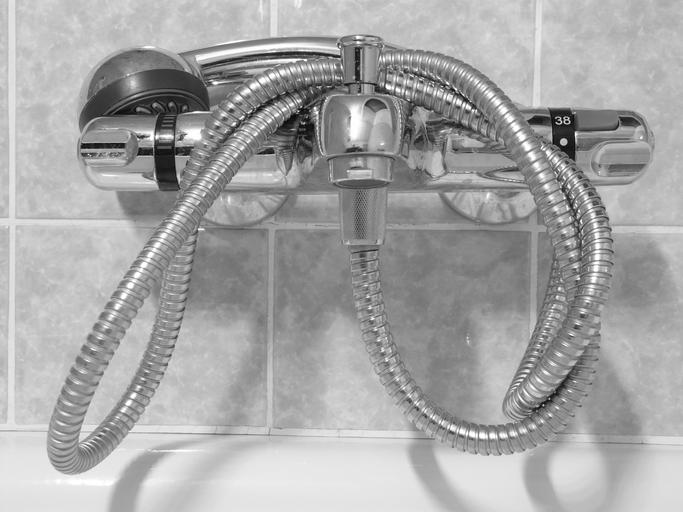
The shower hose is a bathroom item that ages quickly. Often, after a few years of use, scale deposits weaken the hose, which can deteriorate to the point of splitting, causing leaks. You can, then, quickly and easily replace it by following a few steps, as explained in this post.
Choose the right shower hose
Choose a quality hose, preferably brass with double staples. It will be more expensive to buy but will last longer.
Many hose models are guaranteed for several years and comply with your country’s standards to meet the required quality and safety level.
You can take advantage of the hose change to add water-saving elements such as:
– a flow regulator nozzle or a water-saving tablet;
– a shower-stop (which allows you to momentarily stop the flow of the hand shower without cutting off the water from the faucet);
– a low-flow showerhead.
Step 1. Unscrew the fittings
To change a shower hose, start by unscrewing the connection between the old hose and the faucet. Next, unscrew the connection between the hose and the hand shower:
– Using the pliers or a wrench, unscrew the fitting that connects the hose to the faucet. Finish unscrewing by hand.
– Do the same for the connection between the hose and the hand shower. Finish unscrewing by hand.
If you notice lime deposits on the faucet and hand shower threads, clean them with an old toothbrush and an anti-limescale product or white vinegar.
Tip: If you can’t unscrew the fittings, coat them with a degreasing agent and leave them for a few minutes.
Step 2. Place the seals at the ends of the hose
The gaskets that you will place in the hose’s end caps ensure the water tightness of the junction between the hose, the faucet, and the hand shower. Note that these gaskets are usually supplied with the hose.
– Place a gasket in the bottom of the base of the first end of the shower hose.
– Place a gasket in the bottom of the second end of the shower hose.
Tip: Apply silicone grease to the gaskets before screwing them back on. The silicone grease will improve the seal of the fitting.
Step 3. Screw the fittings back on
Now that you have prepared the hose with seals at the ends, you can screw the new hose to the faucet and the hand shower.
– Screw the fitting on one end of the hose to the faucet. The fitting that attaches to the faucet is the nut that can turn without dragging the hose; it is usually smaller than the end that connects to the hand shower.
– Start by hand and finish by using the wrench or pliers.
– Screw the second end of the hose onto the hand shower. Start by hand and finish with the wrench or pliers.
Tip: Do not overtighten the fittings, as this can damage them and the seals. You can protect the fittings with a cloth while tightening them to prevent scratching.
Step 4. Check the installation
Once you have installed the hose, check the installation by opening the water tap.
– If you notice any leaks, the hose may not be tight enough. Tighten with a wrench without forcing.
– Otherwise, disassemble the hose again and check that the seals are in place.
Equipment to change a shower hose
- Wrench from $2 onwards;
- Degreaser from $4 onwards;
- Anti-limescale product from $2 onwards;
- Silicone grease from $4 onwards.
Hope this post helps you out. Remember to share your experience below.


Pingback:Creating a Walk-in Shower With a Ready-to-Tile Shower Tray - Plumbers services