

Summary
– Step 1: Access the trap
– Step 2: Case 1: Disassemble the straight trap
– Step 2: Case 2: Disassemble the angled or flat trap
– Step 3: Reassemble the trap
– Step 4: Check the installation
The best way to unclog a trap is to remove it.
The trap is an odor trap, always filled with water, located under the sink or lavatory. When it is clogged with waste, water does not normally drain…
1. Access the trap
There are several types of traps:
– the elbow trap, which consists of a downward bend in the drainpipe;
– the flat siphon, which is a variant of the elbow siphon, adapted to pass under a bathtub or a shower tray;
– the straight trap, which is the device most often found under sinks.
Sink or basin trap
The sink trap is often hidden in a kitchen cabinet.
A column frequently hides the sink trap, so to unclog your drain, you must remove the column without damaging it.
– Crouch down so that your shoulders are level with the sink.
– Slightly unscrew the nuts securing the sink.
– Push the sink up slightly with one of your shoulders and pull the column towards you by tilting it down.
Bathtub or shower trap
– The bathtub trap is accessed through the bathtub inspection hatch.
– Most shower drains have a built-in trap that can be removed by simply pulling it up. Otherwise, you’ll have to go through the shower’s trap door.
Tip: Consider placing support under your knees: polystyrene sheet, synthetic foam, cushion. You will be better installed to work.
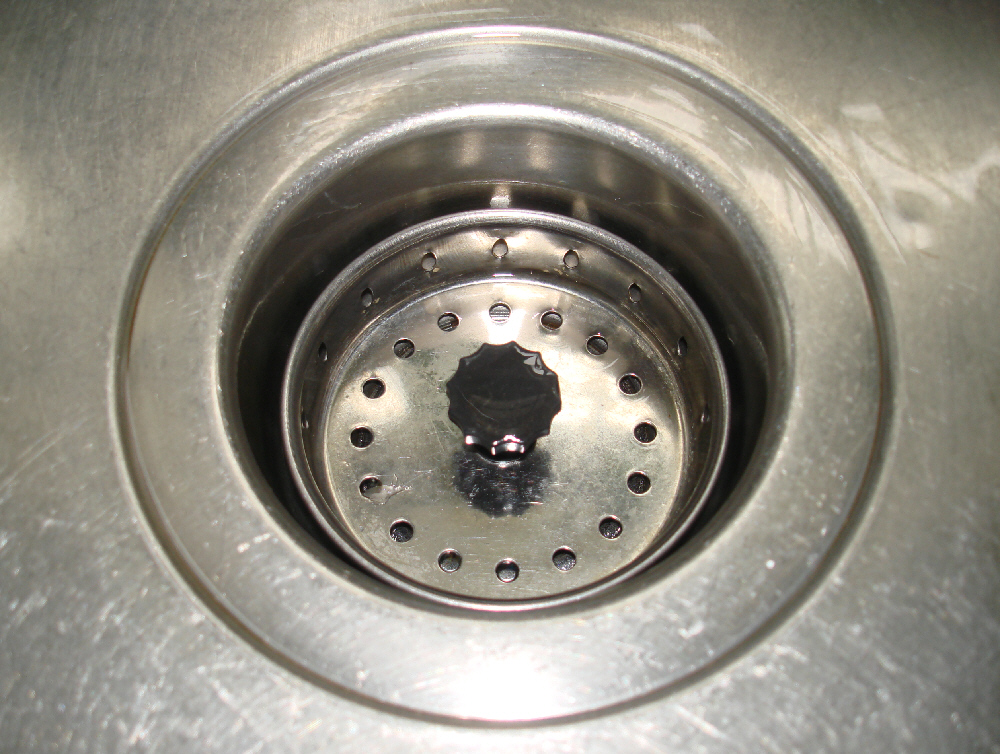
Case 1: Disassemble the straight trap
Before starting, fill a basin with a few centimeters of water and place it under the trap. The waste that will flow out of the disassembled siphon will be collected in it.
Caution: If you have previously used a chemical drain cleaner, wear gloves and protect your eyes from possible splashes: these products are highly concentrated and can cause severe burns.
– Loosen and remove the base (bottom) of the trap by hand.
– Let the waste drain into the basin that you have positioned under the trap.
– Then, loosen and remove the set of threaded rings that hold the trap.
– Wash the various parts of the trap in warm water and cleaner.
Tip: PVC traps can usually be unscrewed by hand (you may need to use a rag to hold them better). If your installation is equipped with a brass trap, use pliers or a large wrench while protecting the trap with a dry cloth.
Case 2: Disassemble the elbow or flat trap
Fill a basin with a few centimeters of water and place it under the trap before disassembling it. It will receive the impurities that will flow out of the disassembled trap.
Caution: If you have previously used a chemical unblocker, wear gloves and protect your eyes from possible splashes.
– Loosen and remove the base (lower part) of the trap by hand.
– Wait until the impurities and stagnant water have drained into the basin that you have placed under the trap.
– Then, loosen and disassemble the threaded rings that hold the trap in place.
– Wash the various parts of the trap with warm water and cleaner.
Tip: PVC traps can usually be disassembled by hand. For a brass trap, use pliers or a large adjustable wrench, protecting the trap with a dry cloth.
3. Reassemble the trap
Before reassembling the trap by reassembling its parts, check its seals. If they are damaged or worn, do not hesitate to replace them.
– Assemble the trap parts and place the threaded rings.
– Tighten the threaded rings by hand.
– If you can’t do it by hand, cover your trap with a dry cloth and tighten the threaded rings with a large wrench without forcing them.
4. Check the installation
After unclogging the trap, check for leaks.
– Run the water from the faucet.
– If the water usually drains and there are no leaks, the trap has been installed correctly. If your sink or lavatory rests on a column, you can replace it and then retighten the fixing nuts.
– If you observe any leaks, double-check that the threaded rings are correctly positioned and tightened.
◦ If necessary, tighten the threaded rings again.
◦ It is also possible to coat the threaded rings’ threads with silicone grease to improve their sealing.
– If the water still does not drain, you may locate the clog in the pipe. In doing so, it is advisable to clean it with a plunger.
Equipment to unclog a drain
| Gardening gloves | About $3 |
| Sealing gaskets | Starting at $2 |
| Multi-grip pliers | Starting at $2 |
| Maintenance products | Starting at $2 |


