

Contents
– Focus on the ready-to-tile shower tray
– Step 1: Layout space
– Step 2: Install the drain
– Step 3: Install the tray
– Step 4: Adjust the height of the grate support
– Step 5: Seal the space
– Step 6: Tile the tray
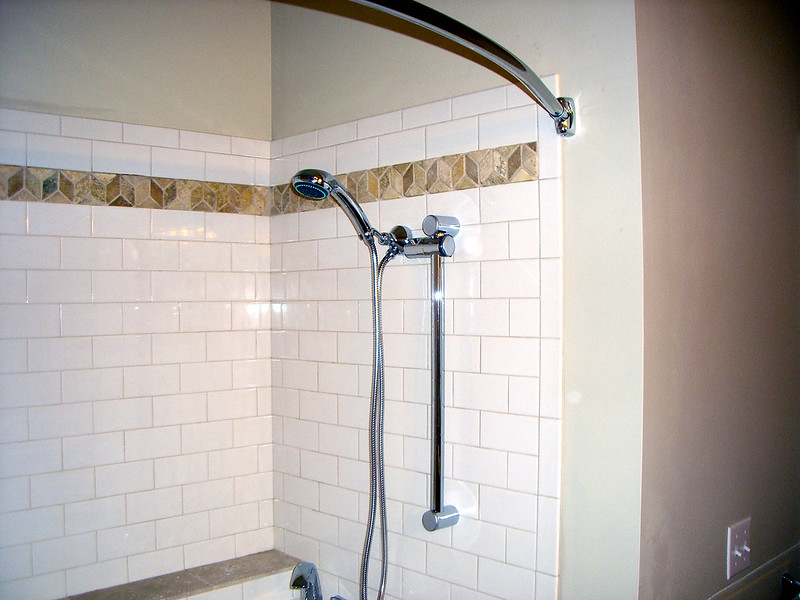
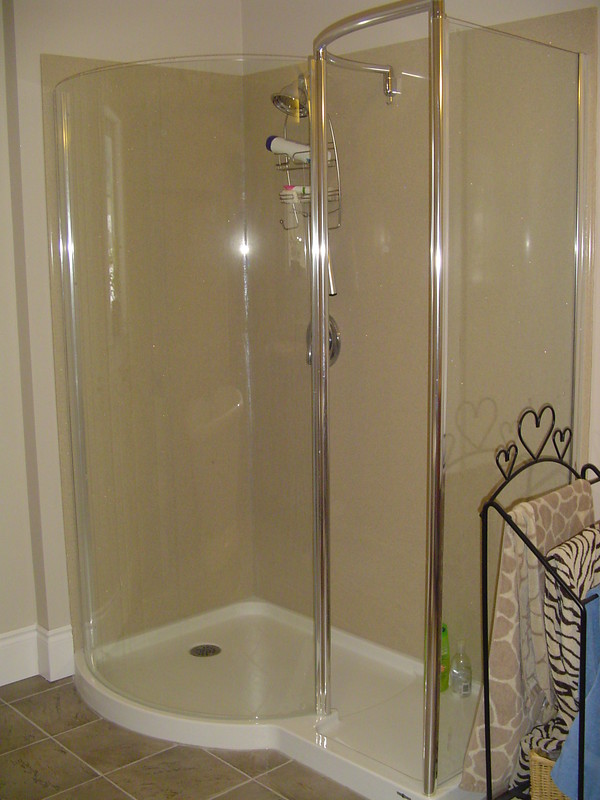
Very appreciable from an aesthetic point of view, and for its comfort, the walk-in shower is finding more and more success in the bathrooms.
Instead of a traditional masonry installation, simplify the realization of your walk-in shower with a ready-to-tile tray. This process ensures a good water tightness of the shower.
Follow this step-by-step guide to create a walk-in shower with a ready-to-tile tray.
Zoom on the ready-to-tile tray
Ready-to-tile trays make it easy to install a walk-in shower.
– The pre-formed slope of the tray ensures water drainage.
– The tray, made of a perfectly watertight material, acts as a casing.
Good to know: the casing is an essential waterproofing device before tiling because if the tiles are always waterproof, the joints age and become permeable.
In addition, the trays can be adapted to the different possible configurations of the shower.
– The tray can be easily recut to fit the dimensions of the shower.
Depending on the aesthetics chosen, 2 drainage solutions are possible: with a “classic” central drain or a gutter on one side.
1. Arrange the space
Make the reservations on the floor.
For the shower to be on the same level, the floor must be recessed to accommodate the shower tray and the drainage system. The minimum depth of the recess is about 5 cm.
Good to know: in renovation projects, choose a model with an extra-flat shower tray to limit the amount of excavation.
The trench to place you can make the drain and the outlet in different ways:
– it is dug:
– if the excavation is deep enough, the trench can be formed by making a form and then pouring concrete to support the drain;
– or more simply, still, with sufficient excavation, compensation support is placed under the shower tray. Place the support in the reservation to mark the location of the trench, cut it with a handsaw, then fix the support to the floor with mortar glue.
Protect the walls
– Treat the walls over their entire height to make them watertight: apply a primer, then a waterproofing paint.
– Let dry, following the manufacturer’s instructions.
– Glue a resilient foam sealing strip around the entire perimeter of the reservation.
2. Install the drain
– Position the drain on the floor in the space provided.
– Measure the length of the drain pipe between the floor drain and the waste system. Cut the pipe to the correct length.
Good to know: the diameter of the drainpipe is at least 50 mm.
– Make sure the drainpipe has a 1% slope.
– Glue the elements with PVC glue and connect them.
– Allow drying.
Good to know: when the glue has dried, to test your drain, pour water into the drain while it is still exposed.
3. Install the tray
Once the drainage system is in place, install the ready-to-tile tray with its pre-formed drain slope.
– Cut the tray to fit the shower if necessary.
– Screw the lip seal under the ready-to-tile tray with a screwdriver.
Good to know: in the case of a side drain, the seal and the support are embedded directly on the trap.
– Glue the back of the shower tray with tile adhesive, using a notched trowel, over its entire surface. Be sure to keep the glue thickness even to ensure a flat installation.
Good to know: with a compensating support, make a double gluing (on the support and under the tray).
– Place the shower tray in its recess, making sure to connect the two parts of the drainage system.
– Press the tray firmly down to ensure good contact with the floor over its entire surface.
– Check the flatness with a spirit level. The tray should be level with the floor.
Good to know: when you press the tray to the floor, make sure the trap is well supported not to move.
4. Adjust the height of the grate support
If you have a center trap, adjust the height of the grate support before positioning all the trap components.
– Insert the grate support into the trap at the level of the drain.
– Place a tile against the grate support. Raise the height of the tile and add 3 mm for the adhesive layer.
– Saw the support to the marked height and lightly sand the cut.
– Place the gasket on the substrate.
– Then, place the trap elements and the great support.
5. Ensure the seal
Waterproofing is the crucial point in constructing your walk-in shower, so be particularly careful at this stage.
– Cut sealing strips with a cutter to cover the perimeter of the shower tray.
Tip: for a good seal, cut strips to the corresponding length of the sides of the shower tray so that you can then install them in one piece.
– Prepare the tile adhesive in a trough according to the manufacturer’s instructions.
– Glue the edges of the tray: cover all the edges of the tray and the adjoining floor or walls with glue.
– Place the sealing strips on the tile adhesive, straddling the edges of the tray and the walls or floor.
Good to know: there are also adhesive sealing strips. However, it is better to use a glue strip.
6. Tile the shower tray
– Glue the entire tray with mortar glue.
– Lay the desired tiles by making the necessary cuts with a tile cutter.
– Let dry for at least 24 hours.
– Make the joints of the tiles.
– Seal with sanitary silicone all around the tray in contact with the bathroom floor, using a gun.
– Smooth the silicone tape with a finger.
Good to know: to avoid the silicone sticking to your finger, smooth it with dishwashing liquid on your finger.
Materials needed to make a walk-in shower with a ready-to-tile tray.
| Trough |
| Flexible adhesive resilient strip |
| Tile wheel |
| Joint cartridge |
| Ready to use tile adhesive |
| PVC adhesive |
| Flat coating knife |
| Cutter |
| Tape measure |
| Mortar |
| Spirit level |
| Sanding paper |
| Flat brush |
| Jointing gun |
| Hand saw |
| Notched trowel |
| Phillips screwdriver |
Read more:
- Changing a Shower Hose;
- 5 Points To Know Before Installing A Glass Shower;
- Pipes and Wrenches | Installing a Shower Tray.

 Fittings?")

Pingback:How to Choose a Walk-in Shower Tray - Plumbers services
Good read, Maryse! This is a good resource that I can show to my clients who might be interested in doing walk-in showers with ready-to-tile shower trays. Love your tips and good-to-know advice, too.