9 Important Steps for Repairing a Leaky Faucet Neck
Contents
– Step 1: Remove the handles from the faucet
– Step 2: Remove the gooseneck nut
– Step 3: Remove the gooseneck
– Step 4: Remove the used O-rings
– Step 5: Replace the O-rings
– Step 6: Reinsert the gooseneck
– Step 7: Screw the gooseneck nut back on
– Step 8: Reassemble the handles
– Step 9: Check your installation
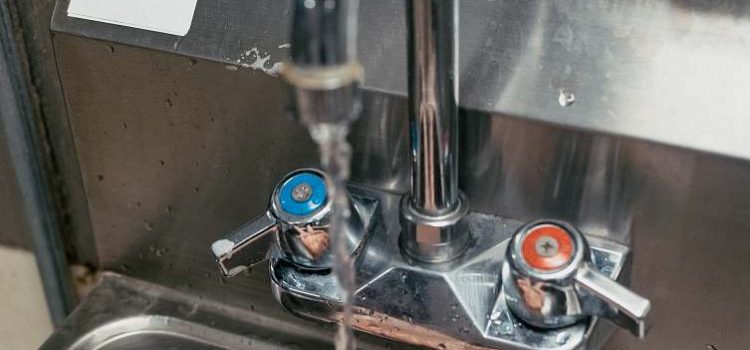
After a few years of using a mixing valve, leaks may appear at the gooseneck nut. Often, these leaks are due to the wear of the O-rings that seal the joint between the mixer body and the gooseneck.
Repairing a leaking mixing valve at the neck is a quick and easy operation. It does not require turning off the water supply.
Some models of mixing valves do not have O-rings but fiber seals. The repair, however, remains the same.
1. Remove the handles from the faucet
Remove the handles from the mixing valve, which will make it easier to access the gooseneck nut.
Remember to close the plug valve: if you drop any parts, they will not get into the trap.
– Unscrew the handle cover of the faucet with the pliers. The cover consists only of the red or blue colored pad (water temperature) on some faucet models.
– Then, unscrew the fixing screw located inside the head.
– Remove the faucet head by pulling it out along its tilt axis.
Note: on some faucet models, the head is fixed by a clip system. To remove the head, pull it out along its tilt axis.
2. Remove the gooseneck nut
Leaks in the neck of a mixing valve are due to wear of the gooseneck O-rings. To free the neck and access these seals, first, remove the gooseneck nut.
– Holding the valve body firmly, loosen the gooseneck nut with a wrench or wrench.
– Finish unscrewing the nut by hand.
Tip: Protect the nut with a cloth using a wrench; this will protect it from scratches.
3. Remove the gooseneck

Once you have unscrewed the nut that holds the gooseneck on, you can remove it.
– Grab the gooseneck by its ends.
– Pull it upwards in a twisting motion from left to right.
4. Remove the used O-rings
The gooseneck O-rings of your mixing valve are now accessible. They are located at the end of the gooseneck that attaches to the body of the mixing valve.
Using a small flathead screwdriver, remove the old o-rings.
5. Replace the O-rings
You should now install new O-rings.
– Clean the end of the gooseneck where the old seals were with an old toothbrush and cleaning fluid.
– Install the new O-rings.
– Coat the seals with silicone grease.
6. Reinsert the gooseneck
With new O-rings in place, the gooseneck of the mixing valve is ready to be reinstalled.
– Grasp the gooseneck at both ends.
– Push the gooseneck into the valve body by rotating from left to right.
7. Screw the gooseneck nut back on

It is necessary to tighten the gooseneck nut on the mixing valve to secure it.
– Start by tightening it by hand.
– Finish tightening it with the wrench without forcing it.
Tip: Protect the nut with a cloth using a wrench; this will protect it from scratches.
8. Reassemble the handles
Reassembling the handles of your mixer tap marks the end of the operation.
– Insert the handles into their housing.
– Tighten the fixing screw located inside the faucet head in the handle.
– Screw the handle cover and pads back on.
9. Check your installation
It is essential to check that the gooseneck of your mixing faucet is not leaking.
– Turn on the water.
– If you notice any leaks:
◦ disassemble the handles and gooseneck of the mixing faucet again,
◦ check that the O-rings are correctly positioned,
◦ apply a little silicone grease to the seals,
◦ reassemble the gooseneck and handles of the mixing valve.
Materials for repairing a mixing faucet that leaks at the neck
| Wrench | Starting at $2 |
| Silicone grease | Starting at $4 |
| O-ring | Starting at $2 |
| Maintenance products | Starting at $2 |
| Phillips screwdriver | Starting at $3 |
| Flathead screwdriver | Starting at $1 |


