
")
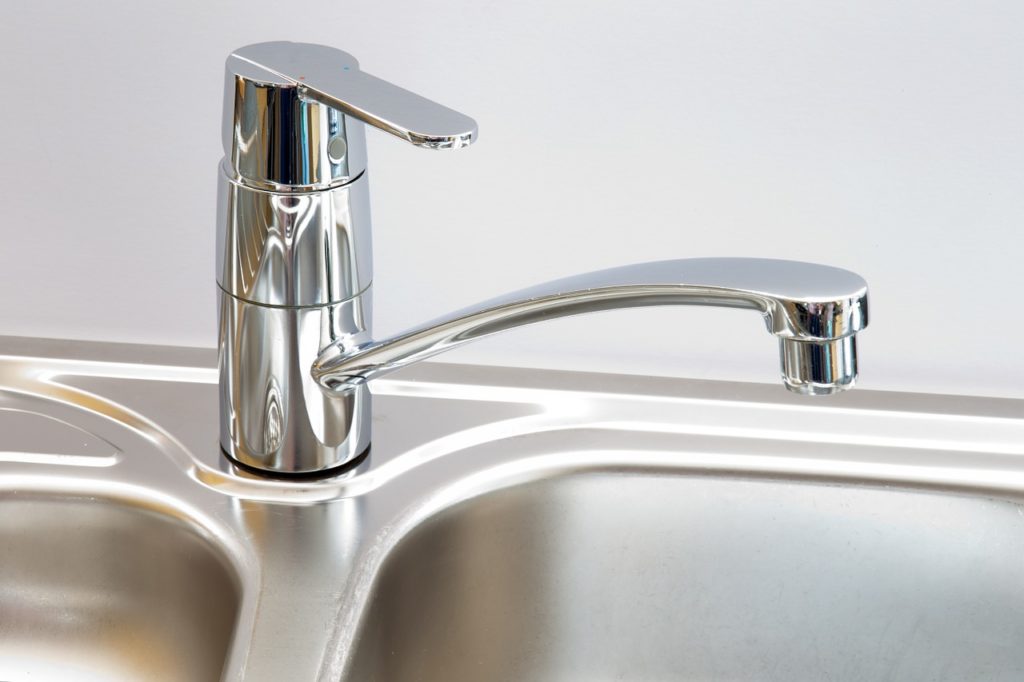
Installing a Mixing Faucet (Part 2)
This post is a continuation from Part 1 on How to Install a Mixing Faucet. Lately, we have gone through:
– What equipment should I choose to install a mixing faucet?
– Step 1: Assemble the mixing faucet
– Step 2: Insert the mixing faucet in its location
– Step 3: Attach the mixing faucet installation
We will now cover:
– Step 4: Connect the mixing faucet to the water supply.
– Case 1: Connection with an American gasket fitting, or a seized fitting
– Case 2: Connection with nut (olive connection)
– Step 5: Connection to the bung
– Step 6: Verify the correct operation of the installation
Step 4: Connect the mixing faucet to the water supply
Nowadays, the connection is a simple and quick procedure, thanks to the generalization of flexible screw connections. Even if there are different sizes of pipes and fittings, this type of material is easy to find.
If the supply pipes do not have a connection system, you will have to install a two-way (also called instantaneous) coupling at their end. This fitting should be chosen to match the diameter of the copper supply pipe on one side and the screw-on hose on the other.
To install this part, you have the choice between a connection with an American joint fitting (also called a “gripp” fitting) and a connection with a nut (also called an “olive” fitting).
Note: by convention, the hot water pipes are on the left and the cold water pipes on the right.
Case 1: Connection with an American gasket, or “seepage” fitting
The American gasket fitting provides an optimal seal. Moreover, it can be dismantled. It consists of a toothed metal ring that will hold the seal between the nut and the bicone fitting.
– Thread the nut, the ring (which you will have greased with silicone grease) onto the supply tube with its teeth facing the end of the tube, and then the gasket.
– Then thread the fitting onto the end of the tube.
– Tighten the nut on the bicone fitting to crush the ring and ensure a tight seal.
– Proceed in the same way on the hose side to ensure the connection with the supply tube.
Important: It is necessary to follow the assembly order described above. Also, make sure that the teeth of the metal washer are pointing towards the end of the tube. The teeth of the metal washer are the ones that will seal the assembly.
Case 2: Connection with nut (olive connection)
In an olive fitting, the olive is a brass ring that will provide a seal between the nut and the bi-conical fitting.
To connect the hoses to the water supply lines:
– Thread the nut and then the olive onto the supply pipe.
– Thread the fitting onto the end of the tube.
– Tighten the nut so that the olive presses against the fitting to ensure a tight seal.
– Tighten the nut so that the olive is pressed against the fitting to ensure a tight seal.
Step 5: Connection to the bung
Connect the mixer to the bung through a control rod.
– Insert the control rod of the bung inside the mixer and screw the lower rod.
– Then insert the lower end of the rod into the ball joint.
– Adjust the amplitude of the bung valve: the bung should close completely and open sufficiently.
– Tighten the screw.
Step 6: Check that the system is working properly
It is important to verify that you have properly installed your mixing faucet.
– Run the water, especially hot water.
– Remember to check that there are no leaks in the installation you have installed under the sink/sink.
– If there are leaks, check the connections and tighten them if necessary.
Thank you for staying posted on our blog. Hope the post from Part 1 till here would be of any help to you. Remember to leave your comments below and share this post with your friends.


Pingback:Installing a Mixing Faucet (Part 1) | Plumbers services
Pingback:6 Easy Steps to Installing a Mixing Valve - Plumbers services
fantastic
Pingback:9 Important Steps for Repairing a Leaky Faucet Neck - Plumbers services