Summary
– What equipment should I choose to install a mixing faucet?
– Step 1: Assemble the mixing faucet
– Step 2: Insert the mixing faucet in its location
– Step 3: Attach the mixing faucet
– Step 4: Connect the mixing faucet to the water supply.
– Case 1: Connection with a U.S. gasket fitting, or a seized fitting
– Case 2: Connection with nut (olive connection)
– Step 5: Connection to the bung
– Step 6: Verify the correct operation of the installation

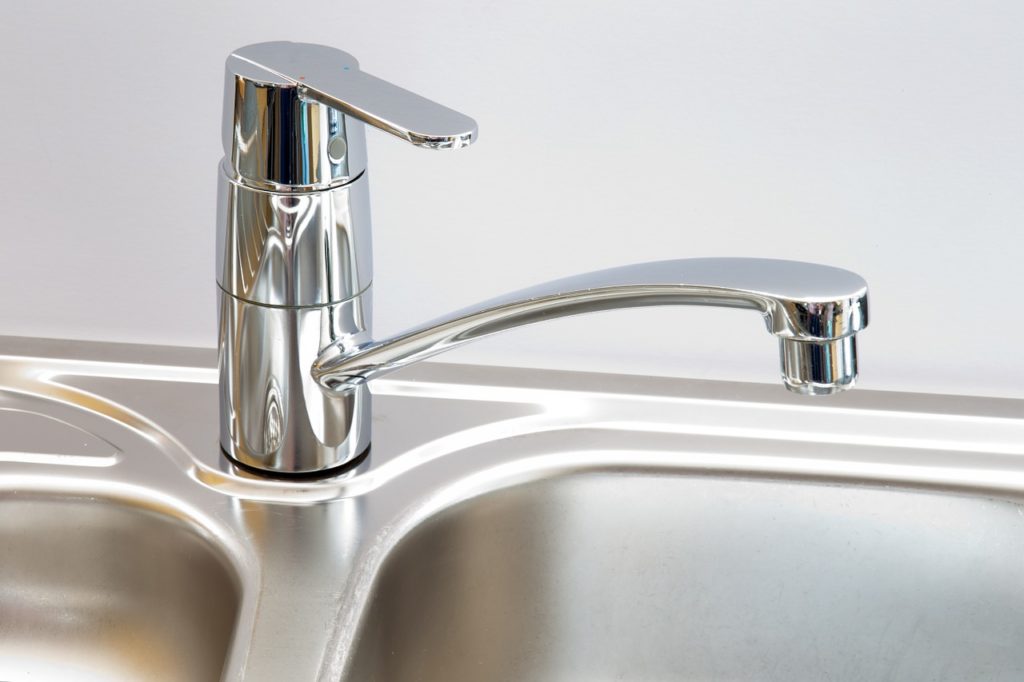
The mixing faucet has a spout, a control for cold water, and control for hot water.
A mixing faucet is installed by attaching it to the sink or washbasin and connecting it to the water supply.
Typically, mixing faucets have a single-hole mounting. However, some have a three-hole mounting; the installation is done on the same principle but takes a little longer.
Important: turn off the water to avoid leaks, with the stopcock if you have one, otherwise at the water inlet of the house. Open a faucet to relieve the pressure in your pipes, then close it again when the water stops flowing. Plug your sink.
Installing a mixing faucet requires that your sink or washbasin be pre-punched. If this is not the case, you can refer to this post: How to Drill a Sink.
What equipment should I choose to install a mixing faucet?
You can choose different models of mixing faucet:
– brass or stainless steel models with flap valves (gaskets),
– brass models with ceramic heads (less prone to leakage and scale deposits).
Equipment for installing a mixing faucet
| Mixing tap kit | Starting at $12 |
| Feeder tube | Starting at $7 |
| Wrench | Starting at $2 |
| Threaded rod | $4 |
Step 1: Assemble the mixing faucet
– Assemble the different elements that make up the mixer. The different elements to be installed are:
◦ the tubes, or flexible connectors;
◦ the threaded rod.
– Screw the tubes or flexible supply hoses onto the threads at the base of the mixing valve.
– Install the threaded rod next to the hoses in the remaining thread. Secure it first by hand and then with a screwdriver. This will hold the mixing valve.
Step 2: Insert the mixing faucet into the mixing valve location
The O-ring (shaped like a buoy) guarantees the tightness of the mixing valve and its support.
This gasket is usually supplied when you purchase your faucet.
Position the O-ring between the base of the faucet and the surface of the sink or lavatory:
– Position the gasket between the bracket and the faucet.
– Then insert the mixing faucet in the space reserved for it.
Step 3: Attach the mixing faucet
– Thread a gasket over the hoses and slide it until it contacts the underside of the faucet holder.
– Put on the protective shim to prevent damage to the bracket.
– Place the bracket on the shim. Then insert the fastening nut into the shim (by hand) and tighten it slightly.
– Check that the faucet is correctly positioned and tighten all parts with a pair of pliers or a wrench.
This post will now continue in part 2 in our next publication by next week. Meanwhile, should you wish to read on a particular topic, please do not hesitate to jot down your request in the comment section below. We would be pleased to cover that topic for you and also, we can get you in touch with a professional plumber to install a faucet if ever you are looking for plumbing services in your region.


Pingback:How to Drill a Sink | The diy blog
Pingback:Installing a Mixing Faucet (Part 2) | Plumbers services
Pingback:Home Plumbing: Choosing the Tray, Faucets, and Enclosures - Plumbers services