How to Change the Anode in a Water Heater
Contents
– Step 1: Locate the anode in your electric water heater
– Step 2: Turn off the power to your water heater
– Step 3: Drain the tank
– Step 4: Remove the mounting plate
– Step 5: Mount the plate and fill the tank
The anode of a water heater is an essential element to protect the hot water storage tank from corrosion.
In practice, the anode of the water heater oxidizes and wears out instead of the tank, so the life of your tank depends directly on the anode’s life. This is why it is also called a “sacrificial anode”.
If the anode is immersed, when you drain your water heater, you can take the opportunity to check this element and change it if necessary. If your anode is directly accessible through the tank wall, there is no need to drain it.
The thermoplastic anode has a life span of between 5 and 10 years. In the case of water that is not too hard, it is recommended to change it when it is 75% worn out.
The anode is fragile, so it must be handled with care. Changing the anode of a water heater is not difficult. It can be just a little complicated by lack of space.
Note: you can find an indicator light that lights up on the water heater when the anode needs to be changed.
1. Locate the anode in the electric water heater
You must first locate the anode on your electric water heater to check and change it. It is best to consult the technical manual of your appliance.
It is usually located next to the heating element, with the thermostat rod. It is attached to a plate that can be removed when the tank is empty.
2. Cut off the electrical supply to your water heater
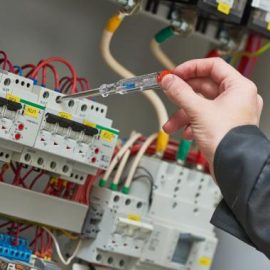
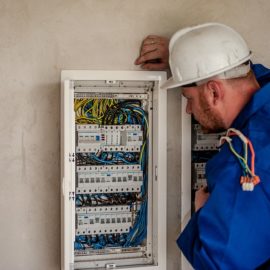
Before any work is done on your electric water heater, it is advisable to cut off the power supply, two methods:
– Turn the main circuit breaker to the “off” position.
– Remove the fuse that corresponds to your electric water heater.
Caution: Keep children and pets away. Work in a safe and dry area.
3. Drain the tank

Unless you have an independent anode accessible directly from the tank via a simple “plug”, it is necessary to drain the tank to remove the anode from the water heater.
You can remove the plate holding the anode when the tank is empty or almost empty.
Caution: it may take more than an hour to empty a tank of 150 l or more.
4. Remove the mounting plate
– Remove the protective cover of your water heater and locate the mounting plate.
– Remove the screws that hold the plate in place.
– Take a picture of the connections for the electrical wires and unscrew them.
– Remove the plate by holding it upright and remove the gasket.
– Remove the anode from its location and replace it with a new one.
– Carefully clean the opening of the tank heater with a hard brush and white vinegar, and rinse thoroughly.
– Replace the plate.
Tip: since the plate is disassembled, take the opportunity to check the gasket of the tank and the heating element and change them if necessary.
5. Mount the plate and fill the tank with water
– Put a new gasket on the plate if the water heater is a few years old. Otherwise, clean it in white vinegar after checking its condition: no cracks or wear.
– Tighten the nuts one by one, gently and gradually, so as not to crush the gasket.
– Fill the water heater tank.
– Reconnect the wires in the same way; the photograph will help you.
– Replace the cover and turn the power back on so that your electric water heater will produce hot water after a few hours of waiting.
Tip: while filling the tank, check that the seal is tight. If necessary, tighten the screws a little more. It is better not to tighten the screws too much at first.
Equipment to change the anode of a water heater
Socket wrench
Anode with seals
White vinegar
Phillips screwdriver
Cloth
Cleaning gloves
Hard brush


