

Summary
– Step 1: Turn off the power
– Step 2: Locate the thermostat on the water heater
– Step 3: Disassemble the thermostat
– Step 4: Test the Water Heater Thermostat
– Step 5: Reinstall the thermostat and turn the water heater back on
You ran out of hot water and thinking, perhaps your water heater has given up?
It is too early to lose hope! Very often it is possible to carry out a few checks and repairs to get things going on smoothly again.
If you still don’t have hot water, after resetting the thermostat thermal safety, you can test the water heater thermostat.
Equipment needed to test the thermostat of an electric water heater:
- Phillips screwdriver
- Phillips-head electrician’s screwdriver
- Lighter
This test, which is very simple to perform, allows you to determine whether or not the thermostat needs to be replaced. Here is how to proceed.
1. Cut off the power
In order to work in complete safety, first of all, you must cut off the power to your water heater:
– Turn off the main circuit breaker.
Caution: Make sure that the current is no longer flowing and keep children and pets away from the work area.
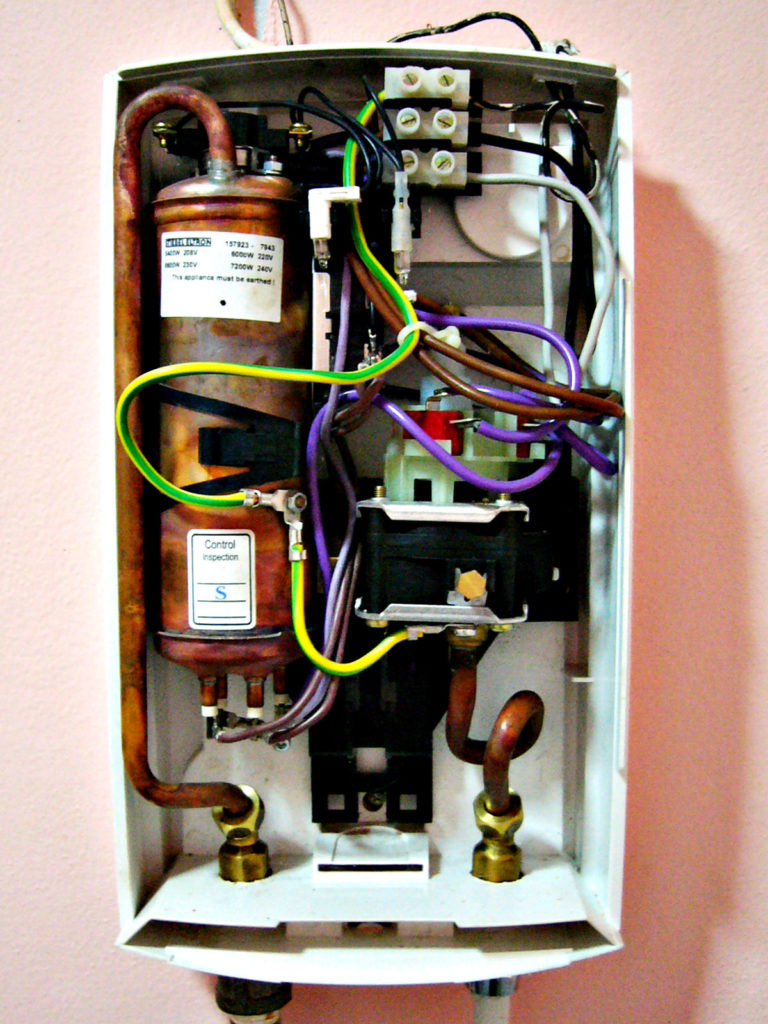
2. Locate the thermostat on the water heater
The thermostat is a small housing that is connected to electrical wires and rests on a plate attached to the tank with bolts. Do not hesitate to consult the technical data sheet of your appliance to locate it.
Nevertheless, whatever the brand, the principle is always the same:
– Unscrew the cover that protects the safety and operating elements of your water heater.
– Reserve the screws in the cover so as not to lose them.
– Locate the thermostat on the plate.
If you need help, you may wish to contact Marlin Plumbing of Miami. They offer professional water heater installation services.
3. Dismantle the thermostat
For safety, use an electrician’s screwdriver to remove the thermostat (it is insulated):
– Remove the screws holding the wires of the thermostat and store them in a small plastic bag to be placed in the cover.
– Dislodge the thermostat, it has a probe that must be completely removed.
Tip: You can take a photograph of the connection of the electrical wires on the thermostat before disassembling it, this can facilitate the reassembly.
4. Testing the Water Heater Thermostat
– Note the position of the temperature knob or place a visible marker at its location.
– Set to 2 or 3 or halfway if you have a “+” or “-” on the temperature knob.
– Check that the thermal safety is engaged, the knob is not visible.
– Hold the thermostat in one hand and, using a lighter, heat the sensor from its tip and along the entire length of the sensor for one minute or until it clicks.
There are two possible scenarios following this test:
– If all goes well:
◦ You should hear a click, this is the thermostat setting.
◦ Then you will hear a click which corresponds to the triggering of the thermal safety of the thermostat: a button, red, black or white appears in the notch of the thermal safety.
◦ The fault does not come from the thermostat, remember to check the state of the resistor and the tank.
– If nothing happens, your thermostat is good to replace.
5. Reassemble the thermostat and turn on the water heater again
– Switch on the thermal safety device of the water heater.
– Return the temperature knob to its original position.
– Put the thermostat back on the circuit board.
– Screw the electrical wires back into their original position.
– Replace the protective cover.
– Switch on the electrical power at the circuit breaker.
If you still don’t have hot water after the test, don’t lose hope! It is possible to carry out a few more checks and repairs to get things back to normal.
This post has covered how to test the thermal safety device of the thermostat. Keep reading our new posts on:
- How to Change the Resistance of Your Electric Water Heater
- How to Change the Thermostat on an Electric Water Heater
Stay posted, and don’t forget to share your comments below.


