

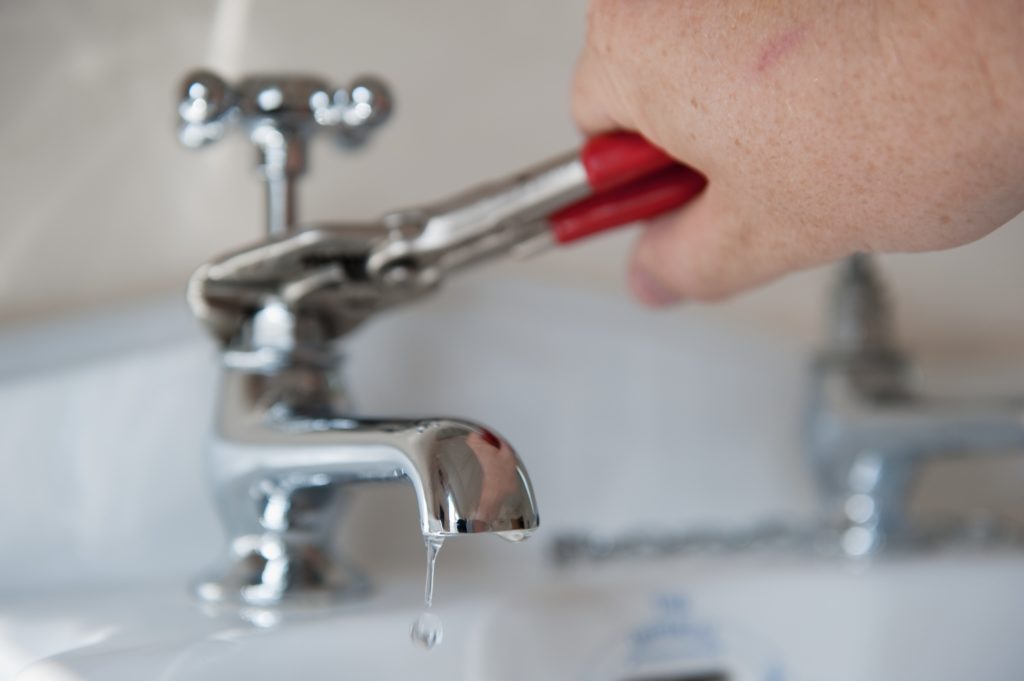
Imagine being kept awake because of water drops falling into your sink, irritating isn’t it? Well, we all know how frustrating a drippy and leaky faucet can be. It is not only frustrating but also a waste as a faucet that drips 20 times per minute wastes nearly two gallons of water per day or 700 gallons per year. It is a significant waste as money is going to the drain literally. The good news is that you don’t have to live with leaky faucets and the better news is that fixing it is not going to cost much and you can do it on your own. However, if you need to fix this leaky faucet, then taking the help of a plumber is totally doable. It is important that you remember that all faucets are different.
So to help you out, here are some important steps into fixing a leaky faucet:
- Step 1 – See if the spout is dripping, if it is then you may have to tighten the handle’s adjusting ring. If it still does not work, then you will need to change the faucet’s seats and springs.
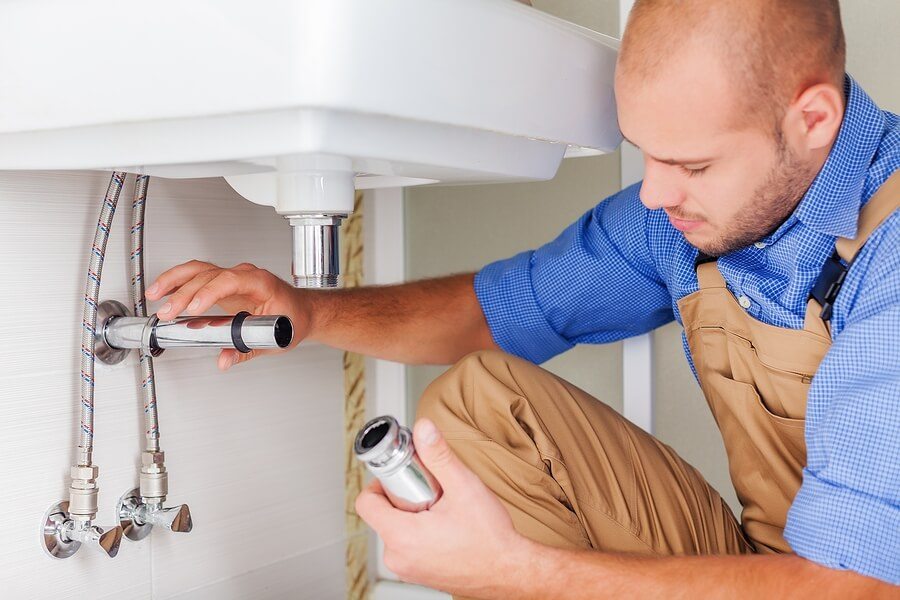
- Step 2 – Shut off the hot and cold water supply valves, which are the silver knobs under the sink. Turn on the faucet to drain any water in the lines. Once you are done, close and cover the sink drain with a small rag to catch any small parts you may drop as you are working.
- Step 3 – Use a screwdriver to lift off the actual handle after removing the screw cover on the faucet handle.
- Step 4 – Lift the handle and you will see a cap and adjusting ring, if the water is leaking, then tighten the ring with needle-nose pliers. If the leakage stops, then good, if not, get ready to replace the faucet’s seats and springs.
- Step 5 – Remove the adjusting ring and unscrew the dome-shape. Use channel-lock pliers in quick, short bursts to break the seal.
- Step 6 – Remove the round metal stem and pull out the ball and cam and packing. If the faucet is leaking from under the handle, replacing the cam and packing should solve the problem.
- Step 7 – At the bottom of the valve, look down and you will see the springs and seats, thereby insert an Allen wrench into the rubber seat, all while tilting it slightly to catch the spring. Lift out the seat and spring. Do this for both cold and hot sides.
- Step 8 – Insert a new set of seats and springs, thread one set onto the Allen wrench through the flat side of the seat, then through the skinny end of the spring. While holding onto the wrench, tip them into their hole in the valve. After that replace the ball assembly, then the cam and packing. Screw on the cap to the valve and replace the adjusting ring, tightening it with needle-nose pliers. Reinstall the handle, turn on the water supply valves and listen carefully!


