

How to Make a Plumbing Study
Summary
– What is a pipe survey?
– Piping design: installation, assembly, fittings, and sleeves
Building, remodeling, or renovating a house or an apartment are operations for which it is necessary to foresee the installation or repair of plumbing networks. The plumbing is not the same depending on whether it is central heating or underfloor heating, water distribution, or the evacuation of gray water and water valve. Making a study of the plumbing to be carried out allows not to make mistakes and to estimate the amount of the work correctly.
This post will explain how to make a plumbing study according to the materials of the pipes, their implementation, their ease of installation without soldering or gluing, and how to choose the sleeves and fittings to be installed with the necessary pliers and tools.
What is a plumbing survey?
The plumbing survey is a dimensioned drawing of the different pipe networks and pipes to be installed according to the rooms’ distribution and the equipment’s positioning.
This study will make it possible to establish the list of the components to be acquired (pipes, sleeves, fittings, installation tools…), the nature (material), and the section (diameter) of the various elements of piping according to the type of flow (heating, cold water, hot water, evacuations…), then to establish a functional diagram which will make it possible to install the whole without error.
To this end, the piping study will focus on the various constraints encountered.
Pipe section
As a general rule, the internal diameter of the various pipes is determined as follows:
– Cold or hot water supply: 10 mm minimum, or even a little more (up to 13 mm) for the stations where a quick filling is desired: overhead shower, bathtub, washing tub…
– Grey water discharge: 30 mm minimum (33 mm recommended), except for large capacity equipment, such as bathtubs, where 38 mm is the recommended diameter.
– Wastewater disposal: WCs require a minimum of 60 mm drainage, but 77 mm is the recommended standard.
– Heating: the diameter of the pipe depends on the water flow rate required by each appliance and, therefore, on the appliance’s power. Generally, heaters up to 1,500 W should be connected with a 10 mm hose, and the inner diameter should be increased by 2 mm for every 2,000 W or so. The maximum pipe diameter is 33 mm for heaters with a power of 29 kW.
Nature of the pipes
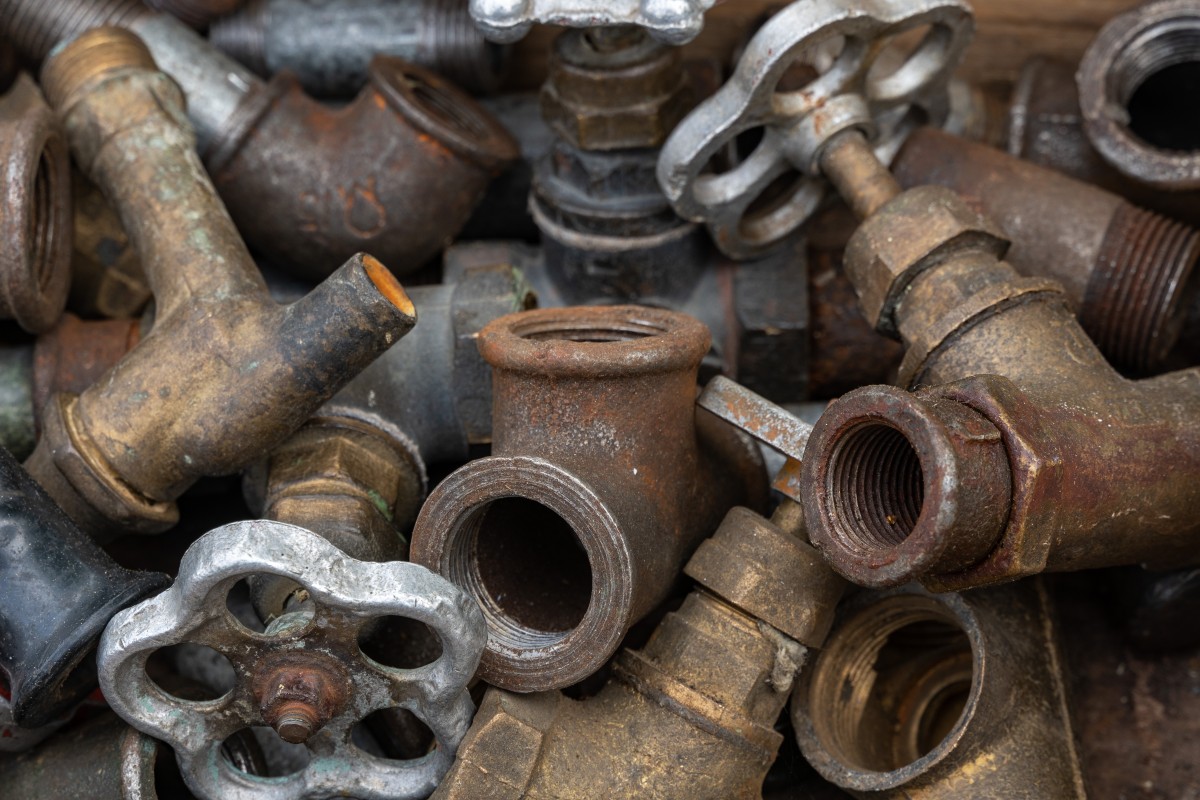
The pipe material should be chosen according to the network to be built:
– Copper: robust and long-lasting, copper is well suited for water distribution. But, as it is heavy and increasingly expensive, it is gradually falling into disuse in homes, except for gas distribution. There are two kinds of copper in plumbing:
◦ the hardened copper: rigid delivered in bar, it is rather intended for surface mounting of walls;
◦ annealed copper: relatively flexible, it is delivered in a coil and is intended for assemblies embedded in the materials of the walls.
– PER: a semi-rigid synthetic material, PER is ideally suited to water distribution and heating networks, particularly underfloor heating. Often delivered in two-pipe, PER allows the installation of cold and hot water networks or the heating flow and returns in a single step.
– Multi-layer PER: a variant of PER, but with a metal coating, making it more durable, expensive, and challenging to install.
– PVC: rigid and sensitive to expansion, PVC is only used for grey water and sewage systems.
– CPVC (super-chlorinated PVC): unaffected by high temperatures (70°C) and most chemical agents, super-chlorinated CPVC is rigid like conventional PVC but more resistant, especially to chlorine and scale.
Installation Diagram
The installation diagram must consider all the heating inlets and outlets, cold and hot water supplies, and the various drains.
The slope: not to be neglected! The slope is mandatory for water evacuations. A too weak pitch will prevent the flow, whereas a too strong slope will disarm the siphons.
Good to know: the slope depends on the distance between the equipment and the main drain. Generally, a slope of 1 cm per linear meter is sufficient, but not excessive, with a maximum of 3 cm/m for pipes longer than 3 m.
Piping study: installation, assembly, fittings, and sleeves
Each material used in plumbing has mechanical properties that must be observed to follow the paths (elbows, angles…) and make connections (joints, sleeves…), as well as different assembly methods:
– Copper: copper can be brazed or receive sleeves that do not require brazing: olive fittings, joint fittings, clip-on fittings. The tools required are either a flashlight for brazing or a tool for beating the collars of the sleeves.
– PER: PER is assembled either with compression fittings that do not require tools or with sliding fittings for which pliers (socket, flare, etc.) are required.
– PVC: PVC is assembled by gluing without tools.
– CPVC: to be assembled by gluing like traditional PVC or crimping sleeves with the specific pliers.
Good to know: even when the assembly is done without tools, it is always required to cut the pipes with a pipe cutter to obtain a clean cut while keeping the diameter and the straightness of the pipe.


