

How to Install a Screw Socket and Mount a Bayonet Socket
How to Install a Screw Socket
– Step 1: Remove the screw-in socket
– Step 2: Connect the wires
– Step 3: Reassemble the screw-in socket
Installing a screw-in socket allows you to connect screw-in bulbs. This is easy to do, even for a beginner, and is done in three steps:
1. Dismantle the socket.
2. Connect the wires.
3. Reassemble the socket.
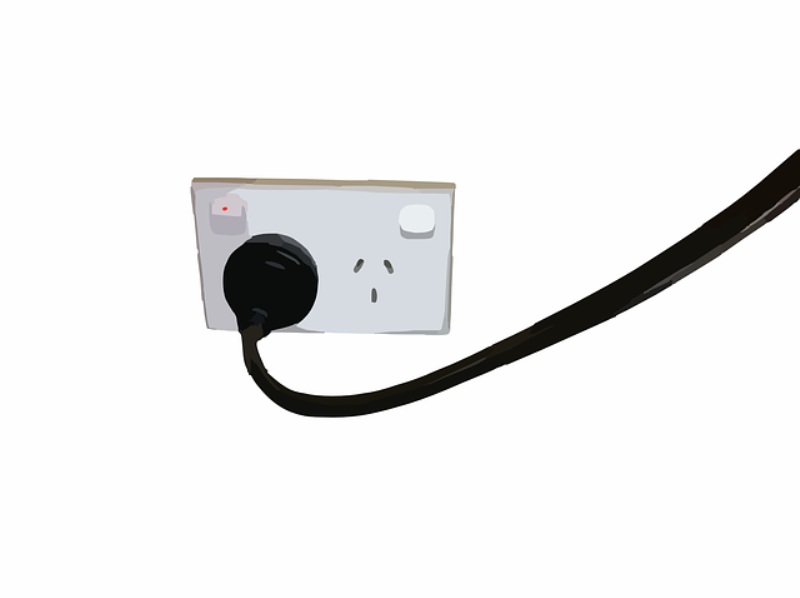
However, whether you are a beginner or an expert, for your safety, it is recommended that you turn off the power in the room or unplug the socket if it is a standing lamp.
Reminder:
– The ground wire is usually located in the center of the outlet.
– The letter N denotes the neutral (blue wire).
– The letter L denotes the current phase (red, brown, or black wire).
Warning: Even if the appliance attached to the outlet isn’t working, it can still conduct electricity. Ensure there’s no current flowing through the outlet with a voltmeter or a voltage tester.
1. Remove the screw-in socket
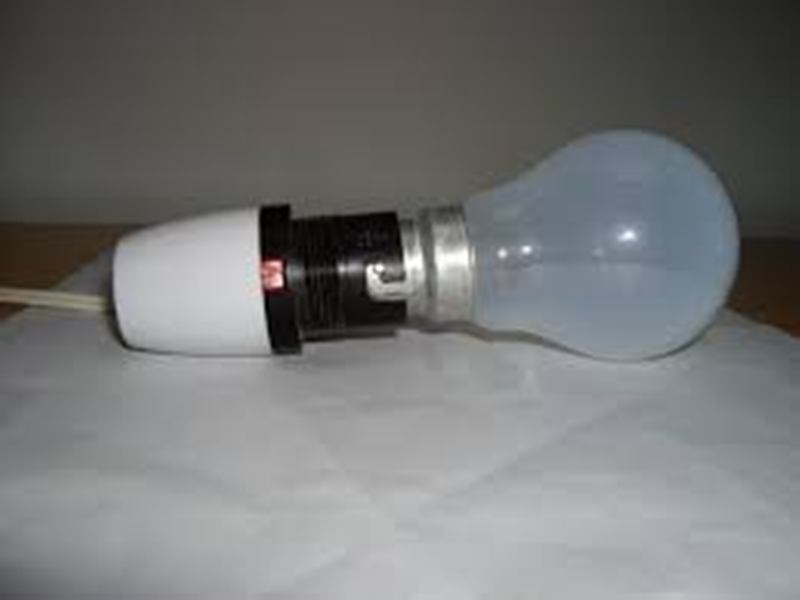
The screw-in socket is primarily plastic and has three parts:
– the base ;
– the socket body ;
– the screw-in sleeve.
It works with central and lateral contact.
To remove the screw socket:
– Unscrew the base of the sleeve.
– Remove the socket body with the connection terminals. 2.
2. Connect the wires
– Pass the wire through the back of the pierced base.
– Strip the ends of the wire over 5 mm with an electrician’s knife or a wire stripper.
– Connect the wires to the terminals, and tighten the screws without excess.
3. Reassemble the screw-in socket
– Replace the socket body in the grooves of the base.
– Screw the sleeve back onto the base and tighten gently.
Note: You can screw on a ring supplied by the manufacturer as an extra for installing a lampshade.
How to Mount a Bayonet Socket
– Step 1: Remove the socket
– Step 2: Connect the wires
– Step 3: Reassemble the socket
The bayonet socket is standard hardware used to connect pin-based bulbs.
Assembling a bayonet socket is easily accessible to beginners and involves three steps:
1. Disassemble the socket.
2. Connect the wires.
3. Reassemble the socket.
Note: This socket has a ring for attaching a lampshade.
Reminder:
– The neutral wire usually is in the center of the socket.
– The ground wire is usually in the middle of the socket (blue wire).
– The letter L denotes the current phase (red, brown, or black wire).
Warning: Even if the appliance attached to the outlet isn’t working, it can still conduct electricity. Ensure there’s no current flowing through the outlet with a voltmeter or a voltage tester.
1. Remove the socket
Before you begin, and for your safety, you must turn off the power to the room in question or unplug the outlet if it is a standing lamp.
To remove the bayonet socket, unscrew the rear cap to expose the socket body and the terminals.
2. Connect the wires
– Feed the flat wire through the back of the drilled socket.
– Untwist the end of the wire.
– Strip the ends of the wires for 5 mm with an electrician’s knife or a wire stripper.
– Connect the wires to the terminals and tighten the screws.
3. Reassemble the socket
To reassemble the bayonet socket, screw the base of the bayonet socket back on without forcing.
Note: An additional ring is provided for the installation of a lampshade.
Below is a shortlist of materials you will need to complete the job.
Materials for Installing a Screw Socket and Mounting a Bayonet Socket
Wire stripper
Phillips screwdriver

