

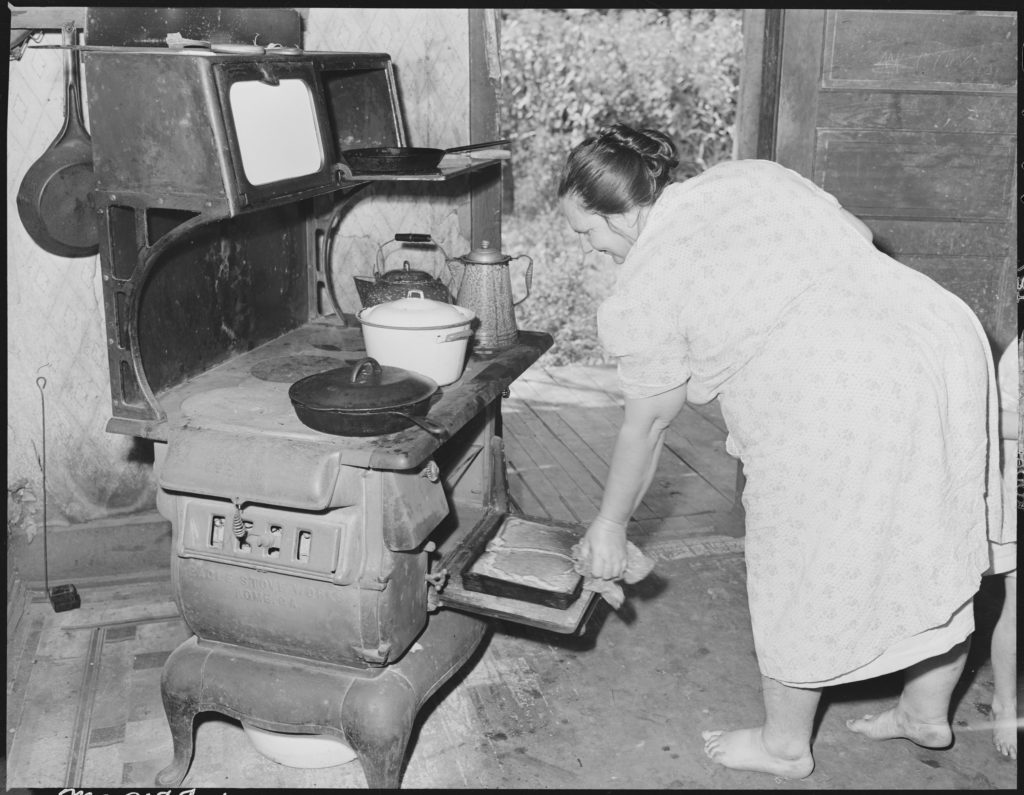
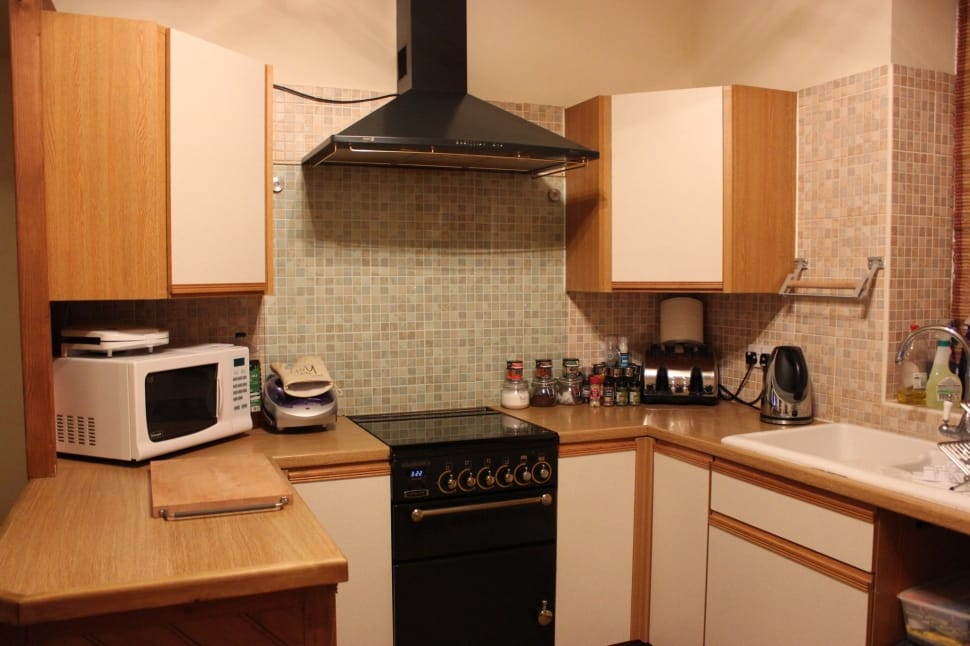
Do you need to replace the heating element in your oven? This operation does not require a professional. It is indeed within everyone’s reach and requires the use of only a few basic tools. Moreover, the financial investment is limited to the purchase of the spare part, so you will save money.
To change the resistance of your oven, simply follow the step-by-step instructions below.
1. Prepare Your Oven
First of all, it is necessary that you prepare your oven:
– Unplug it.
– Take it out of its housing.
– Clear the space around you so that you have access to the front and back of the oven.
– Make sure that the replacement part is similar to the defective part or compatible with the oven model.
Good to know: It is possible to check the compatibility of spare parts with the manufacturers.
2. Remove the Defective Resistor
Removing the defective resistor is not difficult, but requires some handling.
To begin, unscrew and remove the backplate of the oven:
– Unscrew the plate with a Phillips screwdriver or pipe wrench.
– Set the screws aside.
Tip: You can use glasses to set the screws aside. A different glass for each part removed.
– Remove the plate and place it on its side.
3. Remove the Resistor
Once the backplate is removed from the oven, you can take care of the resistance :
– Locate its location.
– Disconnect the connecting wires.
Tip: To keep track of the connections, you can take a picture of them or make a quick diagram.
– Dismantle the resistor by removing the 2 fixing screws on the holding flange.
– Put the screws aside.
– Open the front door of the oven and pull the resistor out towards you.
Note: If the thermostat sensor is attached to the resistor, it must be removed.
4. Insert the New Resistor
Your oven is ready to receive the new resistance, here is how to proceed:
– Install the resistor by inserting it into its housing and positioning it correctly on the inner supports.
– Screw the retaining flange back in place as before.
– Connect the electrical connections of the resistor.
– Position the backplate and screw it back in place.
The heating element of your oven has been changed. Now you only have to reposition the oven in its housing, connect it to the mains and prepare delicious dishes and desserts again!
In case of trouble, or the above task is not your cup of tea, do not hesitate to call Unit Appliance. They provide solutions to all types of oven-related issues with comprehensive oven repair services in Melbourne Western Suburbs.


