

A Comprehensive Guide to Fixing Water Leaks
Hey there! Dealing with a pipe leak can be quite a hassle, but fear not! In this comprehensive guide, we’ll walk you through the process of identifying the source of a pipe leak. By following these steps, you’ll be able to pinpoint the exact location of the leak and take the necessary actions to fix it. So, let’s dive in and get those pipes back in tip-top shape!
Step 1: Look for Visible Signs
Start by inspecting the area around the pipes for any visible signs of water leakage. Check for dampness, water stains, or mold growth on walls, ceilings, or floors. Also, keep an eye out for any bubbling or peeling paint, as it could be an indication of water seeping through. These visible signs can give you a clue about the general area where the leak might be located.
Step 2: Check Plumbing Fixtures
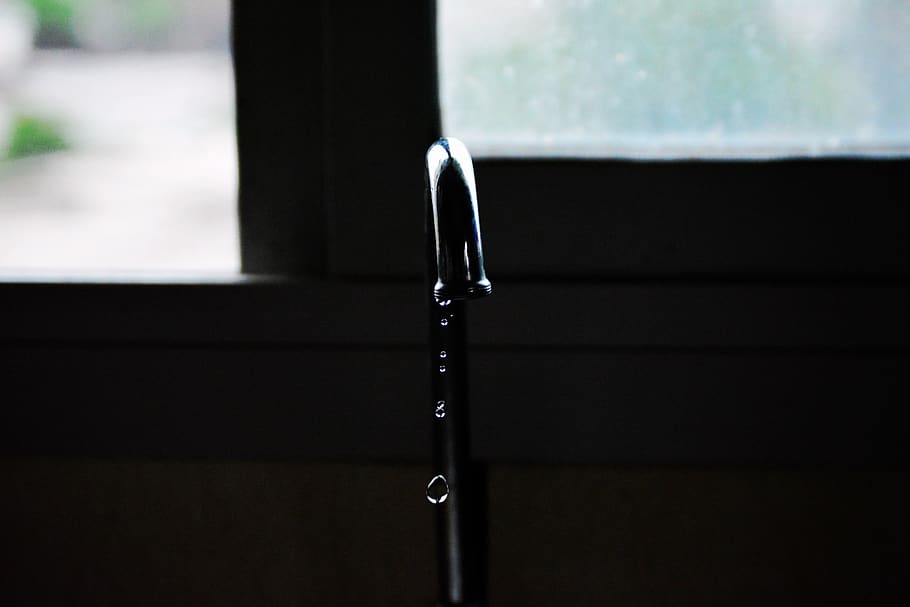
Next, examine all plumbing fixtures connected to the suspected pipe. Inspect faucets, showerheads, toilets, and any other outlets that are part of the plumbing system. Look for any signs of dripping, pooling water, or unusual moisture around these fixtures. Sometimes, a leak may originate from a faulty fixture rather than the actual pipe.
Step 3: Monitor Water Meter
A useful way to determine if there’s a hidden leak is by monitoring your water meter. Make sure all water sources in your home are turned off, then check the meter reading. Wait for about 30 minutes without using any water, and then recheck the meter. If the reading has changed, it indicates a leak somewhere in the system.
Step 4: Conduct a Pressure Test
To further narrow down the source of the leak, you can perform a pressure test on the plumbing system. Shut off the main water supply valve, then open a faucet to release any remaining water pressure. Connect a pressure gauge to a hose bib or a faucet and turn on the main water supply. Observe the pressure gauge readings for any sudden drops, which could indicate a leak in the system.
Step 5: Utilize Food Coloring
In some cases, the leak may be too small to detect visually. In such instances, you can employ a simple trick using food coloring. Add a few drops of food coloring to the toilet tank and wait for about 15 minutes without flushing. If you notice the colored water appearing in the toilet bowl, it suggests a leak in the flapper valve or the seal between the tank and the bowl.
Step 6: Call a Professional
If you’ve followed the previous steps and still can’t identify the source of the leak, it’s time to seek professional help. Plumbers have specialized tools and equipment, such as leak detection devices and thermal imaging cameras, that can pinpoint hidden leaks with precision. A professional can save you time, effort, and potentially costly repairs by accurately locating and fixing the problem.
Remember, addressing a pipe leak promptly is crucial to prevent further damage and water wastage. By following these steps, you can identify the source of the leak and take appropriate action to fix it or seek professional assistance when needed. Don’t let a pipe leak dampen your spirits—get to the bottom of it and restore the integrity of your plumbing system!
In conclusion, identifying the source of a pipe leak requires a systematic approach. By inspecting visible signs, checking plumbing fixtures, monitoring the water meter, conducting pressure tests, using food coloring, and seeking professional help if needed, you can successfully track down and resolve those pesky pipe leaks. Good luck on your leak detection journey, and may your pipes stay leak-free!


