

Successful Installation of a Built-in Oven in 3 Steps
Contents
Step 1: Determine the best location for your built-in oven
Step 2: Prepare and connect the oven to the electrical system
Step 3: Install the built-in oven and secure it
Installing a built-in oven is not very difficult if you proceed with method and care. This type of oven is installed in a cabinet or niche designed to accommodate it. Once you have determined the best location for your oven, you can proceed with its installation.
Here’s how to install a built-in oven.
1. Determine the best location for your built-in oven
Here are some recommendations for where to place your built-in oven:
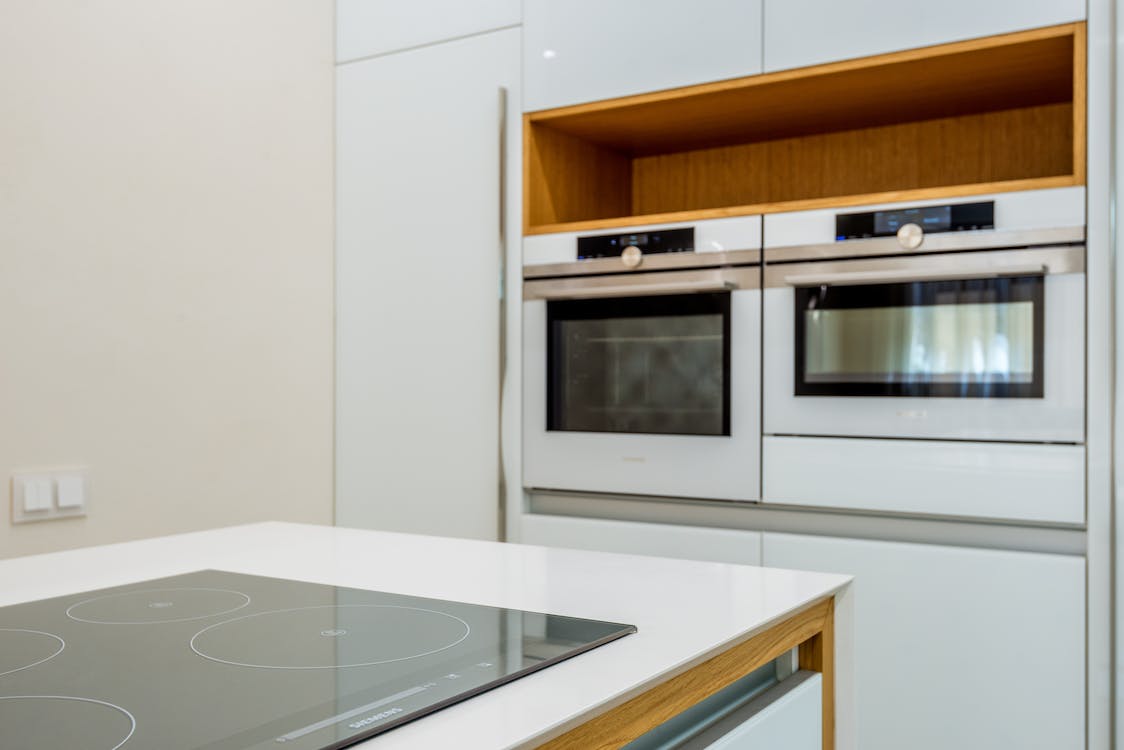
Built-in ovens are often installed as an extension of the countertop for convenience.
If your kitchen layout allows it, place the oven high up for greater comfort and to limit the risk of burning young children.
If you wish to install your oven on a central island, ensure you have a minimum clearance of 1 m to avoid obstructing the opening of the oven door.
Leave a space of about 5 cm between the oven’s walls and those of the cabinet that houses it.
Leaving an opening behind the oven is necessary to circulate the hot air. Most of the time, kitchen furniture is designed for this.
Tip: If your cabinet is not designed to hold a built-in oven, install ventilation grills at the back.
Avoid placing your oven next to a refrigerator. If you can’t do otherwise, place an insulating material between the two.
Once everything is set, you can proceed with installing your oven.
2. Prepare and connect the oven to the electrical circuit
Ovens usually come with a cord to connect directly to the power circuit via a wall box. Therefore, some preparation is often necessary before installing the furnace.
Adjust the length of the cord
Adapt the length of the cord to the distance between the back of the niche and the wall box. If necessary, cut the cord with a wire cutter.
Connect the cord to the terminal block on the back of the unit
Use a flathead screwdriver to pry open the terminal block.
Strip 3 to 4 cm of the power cord with a wire stripper to expose the 3 wires.
Then strip the conductive wires for 5 or 6 mm then pass the cord through the cable clamp of the terminal block.
Connect each wire to the terminal block and screw the cable clamp.
Replace the terminal block cover.
Connect the furnace to the power supply circuit
The furnace must be connected to an independent circuit with a circuit breaker and a residual current device.
Important: Turn off the power before connecting the furnace.
Position the furnace as close to its final location as possible by placing it on trestles.
Route the power cord through the opening at the back of the cabinet.
Connect the oven power cord to the wall box.
3. Install and secure the built-in oven
Slide the oven into place.
Pull the power cord tight so it never touches any hot oven part.
Tip: Have someone help you to do this easily.
Position the overhanging front of the oven by applying it to the cabinet posts.
Adjust the position of the oven by checking the horizontal and vertical position with a spirit level.
Then open the oven door.
Locate the side mounting holes.
Screw the front panel to the cabinet posts using the fixing holes.
Close the door.
Good to know: to intervene on the appliance in case of breakdown, you just have to unscrew the front panel to take the oven out of its housing.
You have now completed the installation of your built-in oven. Turn the power back on and check that your oven is working correctly.
Materials needed to install a built-in oven successfully
Spirit level
Wire stripper
Cutting pliers
Phillips screwdriver
Flat screwdriver
Trestles
Screw
Screwdriver
Good to know: if all these steps seem tedious, do not hesitate to call a professional for a perfect result.


