

3 Steps for Adjusting a Water Booster
Contents
Step 1: Calculate the ideal operating pressures for your booster
Step 2: Check and adjust the blower’s air pressure
Step 3: Adjust the Booster’s Water Pressure
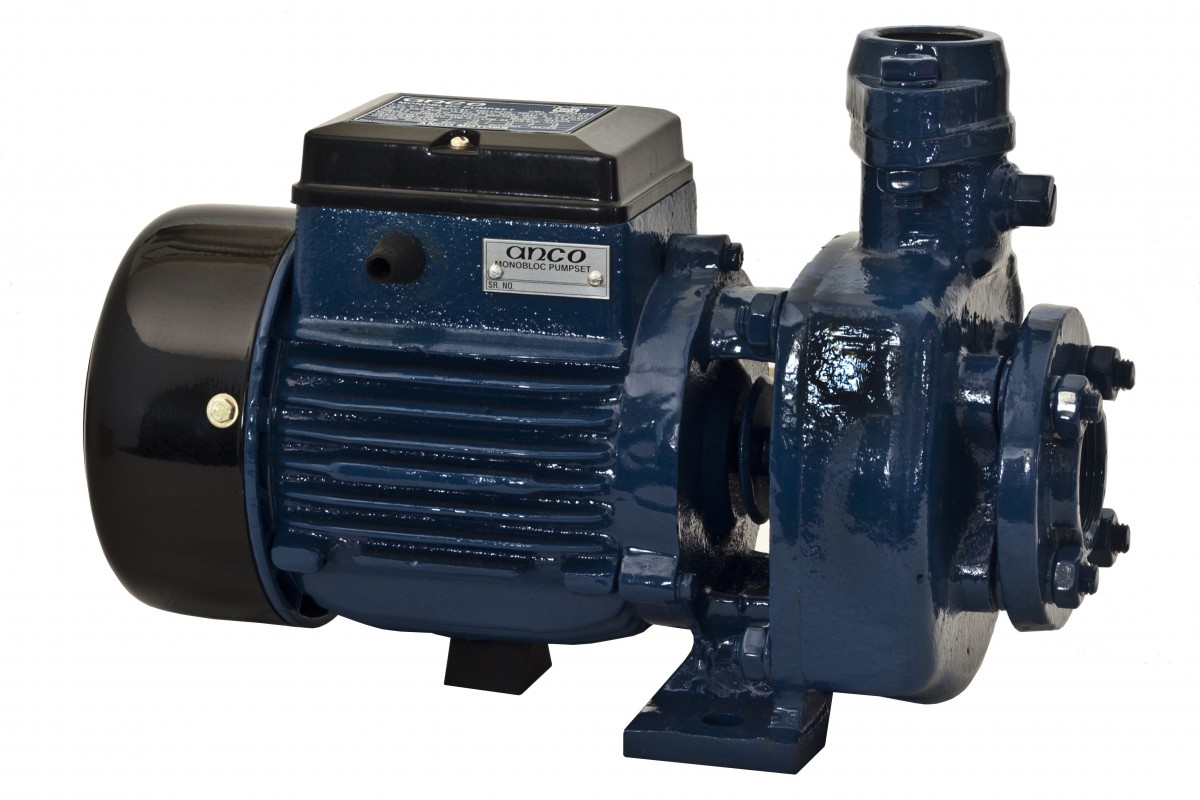
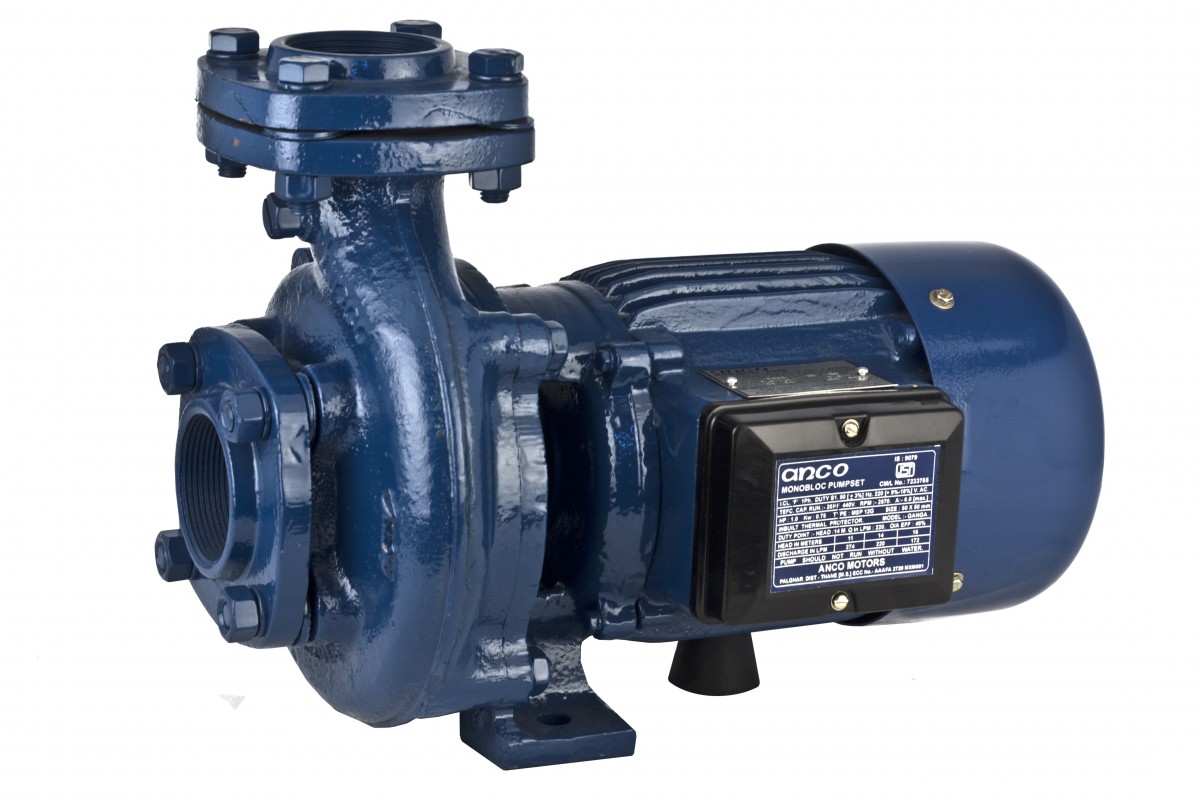
It is advisable to adjust the pressure of the booster at the time of installation and periodically during the unit’s life. It is carried out by acting on 2 parameters, independent but interactive: the air pressure in the tank and the range of water pressure available at the tank outlet.
Follow how to carry out these simple operations, requiring a little method to adjust a booster.
1. Calculate the ideal operating pressures for your booster
Define the zero flow pressure
This is the basis for optimizing the pump’s start and stop pressures:
Close all draw-off valves after the storage tank.
Force the pressure switch to let the pump run for a few seconds at maximum pressure.
The figure on the pressure gauge is the pressure at zero flow (e.g., 5.0 bar).
Determine the high operating pressure
The high working pressure is 10% lower than the zero flow pressure.
In our example: 5.0 – 0.5 (10% of 5 bar) = 4.5 bar.
This figure is ideal, both:
For the pump, because we know that as it approaches its maximum pressure, the flow rate drops rapidly. It, therefore, runs longer for a small volume of water pumped.
The installation avoids water hammering, which is hard on the equipment.
Determine the reset pressure
The use of the system mainly determines the difference between high and low pressure.
1.8 bar seems to be a good compromise between:
comfort requirements, which favor short differences;
the limitation of the number of reclosing, for which a large delta is desirable, saves both pump and energy.
In our example: 4.5 – 1.8 = 2.7 bar.
Calculate the vacuum air pressure
The vacuum air pressure is conventionally 0.2 bar lower than the reset pressure.
In our example: 3.2 – 0.2 = 3.0 bar.
Good to know: some booster pumps are delivered preset according to the pump characteristics. This usually avoids pressure calculations, but a check after installation is still necessary.
2. Check and adjust the air pressure of the blower
You need an inflation device with a “tire valve” type outlet connection to do this. This can be a compressor or, for small volume tanks, a foot or hand pump.
Turn off the pump.
Open tank shut-off valves (if any).
Open a draw point or the tank drain (if available).
Let the water flow until the tank is empty.
Check the pressure by connecting a pressure gauge to the tank valve.
Inflate if the pressure is insufficient or let air escape by pressing the center valve stem. Do this until the desired pressure is reached (3.0 bar in our example).
Note: the time between two pumpings depends on the pump flow, the volume of the balloon, and its pre-inflation. This vacuum pressure is therefore crucial to the efficiency of the booster and should be checked at least once a year.
3. Adjust the water pressure of the booster
Caution: This adjustment must be made in the order it is done after the air pressure check. Always start with a high-pressure setting!
The water pressure settings are made on the pressure switch (black PVC box located near the tank):
Switch off the power supply.
After removing the protective cover, you will see:
a large tared spring, intended for the adjustment of the high pressure (pump cut-off);
a small tared spring, designed for the adjustment of the low pressure (re-starting of the pump);
the power supply connection terminals.
Set the high pressure
Open any shut-off valves on the tank.
Close the draw-off points.
Restore the power supply. At this point, the pump should turn on and fill the tank.
After the pump has stopped, check the pressure on the pressure gauge. If it is not within the set value (4.5 bar, in our example), turn off the power supply (for safety), then adjust the pressure by compressing the large spring to increase the pressure. To do this, turn the nut or screw on the upper central part of the spring clockwise (or towards the + mark if it exists).
Relaxing the large spring to decrease the pressure. To do this, unscrew the nut or screw on the upper center of the spring counterclockwise (or toward the – mark if present).
Restore electrical power.
Open a valve to relieve the pressure.
When the pump starts again, close the valve.
After the pump stops, check the new pressure on the gauge.
Note: You must repeat this twice to obtain the correct cut-off pressure.
Adjusting the low pressure
Use the same technique for the high pressure but act on the small spring.
To change the pump’s cut-in pressure:
Compress the small spring to increase the pressure by turning the nut or screw on the upper center of the spring clockwise (or toward the + mark if it exists).
Loosen the small spring to decrease the pressure by unscrewing the nut or screw located on the upper central part of the spring, counterclockwise (or towards the – mark if it exists).
Good to know: some pressure switches do not have visible springs but have adjustment holes through which you can insert a screwdriver. In this case, the direction of rotation is indicated by arrows marked + or – connected by a circular arc. There may even be vertical marks indicating preset pressure values.


