Let me give you some honest advice: Don’t expect your cords to last when your poocqh is constantly chewing on them? Worse is if it’s your kids walking right over them without a care in the world.
However, instead of replacing those cords, which can be costly, you can simply repair them. Here’s how to do it!
Putting in a New Plug

Choose a replacement plug with the same number of prongs as the old one. Installing a new plug is required to repair a cord without soldering. The new plug must match the old one, but plugs come in a variety of shapes and sizes. Attempt to obtain an identical plug with the same shape and number of prongs. Match the amp rating, which should be printed on the plugs.
Additional Tips:
For the majority of cords, such as extension cords, the simplest solution is to install a new plug. However, you may be unable to find or install a matching plug for some accessory cords. Instead, try soldering.
Bring the plug with you to a home improvement store to help you find a replacement. You may be able to pull the plug off or unscrew it from the old cord.
Polarized cords and caps are used in many appliances and older extension cords. The caps are connected to a two-wire flat cord. To identify it, look for a ridge along the length of the cord, printed identifying information on the cord, or gold and silver conductors on the plug.
Plugs, as well as all of the other tools required for the repair, can be purchased online or at home improvement stores.
Examine the Replacement Cord Cap for Labels Indicating Where Each Wire Should Go
Cord caps have a variety of slots with screws that hold the wires in place. These slots will differ depending on the type of cap you’re using. The slots may be labeled “black” or “white,” which correspond to the wires inside the electrical cord. Match the labels to the insulation color on each wire.
Additional Tips:
Check the screws if the cap lacks labels. The orange brass screw is connected to the black power wire. The silver screw is connected to the white neutral wire. The green ground wire is then connected to the green screw.
Please keep in mind that the wire colors may vary depending on the cord or electrical code in your area. In Europe, for example, power wire is frequently brown or black. The neutral wire is blue, while the ground wire is yellow and green.
Tuck the Exposed Wire Ends Clockwise Around the Screws
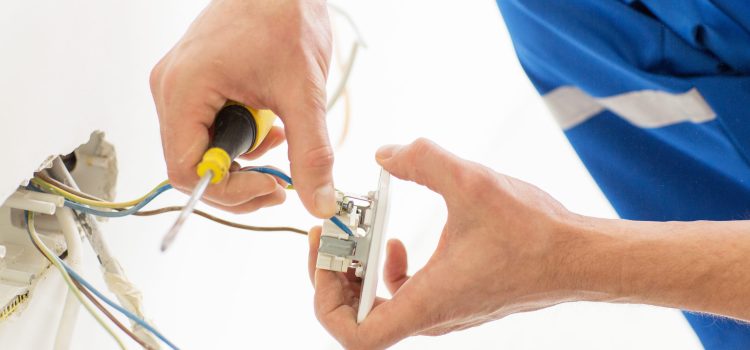
Connect the wires to the appropriate cap terminals one at a time. Twist the exposed strands of each wire together first to keep it secure. Then, start wrapping the wires around the screws clockwise. Most plugs have small notches that you can use to keep the wires in place and close to the screws.
In order for the cord to function properly, the wires must be plugged into the correct locations. It’s dangerous to put them in the wrong places! It has the potential to damage electronic devices and even increase the risk of electrical shock.
To Secure the Wires to the Cap, Turn the Screws Clockwise

On each screw, use a Phillips screwdriver. Once the screws are tightened, I’m pretty sure you won’t be able to move the wires. Examine them to ensure that they are properly positioned and secure. If any adjustments are required, loosen the screws by turning them counterclockwise.
Screw the Plug Housing Into Place Over the Cap
Insert the other half of the plug into the cord and onto the cap. It will fit over the cap, keeping the wires safe. Examine the outside of the housing for a small hole into which a screw can be inserted. Place the screw that came with the new plug in place, then tighten it clockwise.
Plug the Cord Into a Working Outlet to Test It
Before plugging in the repaired cord, if possible, turn off the power to the outlet. Make sure to turn off the power to the room or circuit where you intend to use the cord. Then, when you’re ready for the test, turn it back on. Stay away from the repaired area until you’re certain the cord is working properly. If you don’t notice anything out of the ordinary, the repair was a success!


