How can you not expect your electrical cords to wear out when you’ve got pets constantly chewing on them? Or, worse, when your kids walk over them without a care in the world?
Good news for you, instead of replacing those cords –which can be costly – you can simply fix them. Here’s how to!
Damaged Wires Should Be Cut and Exposed
Remove the Power Cord From the Outlet

Before you begin working on it, make certain that it is completely unplugged. When it is plugged into an outlet, an electrical current is still flowing through it. While unplugging the cord, take care not to touch any exposed metal wires or contacts. Remove any other cords or electronics that are connected to the wire.
If you’re dealing with severely damaged cords, consider turning off the power first. Disconnect the fuse or circuit breaker. It is usually found in a remote location, such as the basement or a storage room.
Examine the Cord for Broken Wires and Other Signs of Wear and Tear
Check the length of the cord to see if it is unusually warm. Try to see if there are any breaks in the insulation that could cause the cord to malfunction. Examine the plug prongs to see if they are melted or burned.
Mark any damaged areas so you don’t have to look for them later. If you notice a lot of serious damage, you might be better off buying a new cord rather than attempting to repair it.
It is important to note that broken extension cords cannot be safely spliced or joined back together. No matter how well you reconnect the old wires, the cord is no longer safe to use. Replace it with a new plug instead.
Wrap Electrical Tape Around the Damaged Area to Repair It
Position the tape’s edge over the damaged casing. And after that, wrap the tape several times around the cord to seal the damage. Make sure it’s well-sealed before treating any other damaged areas in the same way. Electrical tape is a kind of black vinyl that is resistant to electricity, making it ideal for safely wrapping cords as long as there are no exposed metal wires.
If the cord is so badly damaged that you can see frayed metal, you will almost certainly have to cut it to repair it. Tape is only useful for insulating wires and preventing existing superficial damage from worsening.
Another option is to wrap a PVC shrink tube around the damaged area. Gently heat it to shrink it and seal the break.
Duct tape and other types of tape can also be used. Electrical tape, on the other hand, is the best option because it is designed to work on electrical components.
Using Pliers, Cut the Cord on Both Sides of the Damaged Section
End cutting pliers and lineman’s pliers are two tools that can be used to cut cleanly through electrical cords. Sever the cord by slipping the pliers past the damaged section. With a single attempt, cut through all of the insulation and wiring. Then, on the opposite side of the damaged portion, repeat the process to completely remove it.
Examine the remaining cords’ lengths. If they’re both quite long, you might be able to reuse both of them. Cut lengths that are way too short to be useful should be discarded.
You could, for example, cut an extension cord in half and reuse both halves. Even if the shorter part is reusable, it may not be necessary for smaller cords, such as those from electronic devices.
With Wire Strippers, Remove About 1 in (2.5 CM) Of Insulation From the Cord

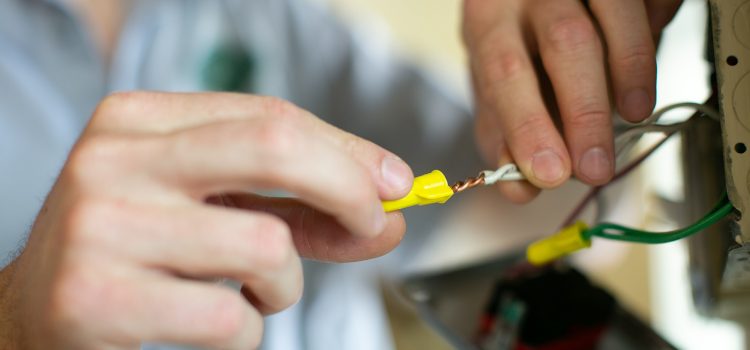
Wire strippers are extremely useful for removing the outer casing of a cord without damaging the wires beneath it. Estimate from the cut end of the wire, being careful not to remove more of the insulated casing than necessary. Clamp the pliers to the wire to break the insulation, then slide it off. If you intend to solder the pieces back together, repeat the process with the other half of the cut cord.
This will expose the electrical wires within the cord. In thicker cords, such as extension cords, expect to see three wires. Smaller cords, such as those used for household accessories, have fewer wires.
Remove the Insulation From Each Wire Inside the Cord
From the cut end of each wire, measure 34 in (1.9 cm). Then, with the wire strippers, cut through the casing. When you’re finished, simply slide the cut insulation off. It will reveal the copper wires, which you can reroute to your new cap.


Pingback:Proper Repair of Electrical Cords: DIY Tips (Part 2) - Plumbers services