

How to Change an Electrical Outlet
An electrical outlet should be replaced if it no longer works or if it no longer matches your decor.
Changing an electrical outlet is easy but requires some safety precautions. Be sure to turn off the power before removing the old outlet. Finally, remember to test the new electrical outlet once it is installed.
As a reminder, the ground wire is usually in the middle of the outlet, the letter N indicates the neutral (blue wire), and the letter L indicates the phase (red, brown, or black wire).
Warning: an electrical outlet can conduct electricity even if the appliance connected to it is not working. Use a voltmeter or a voltage checker to make sure that current is not flowing through the outlet.
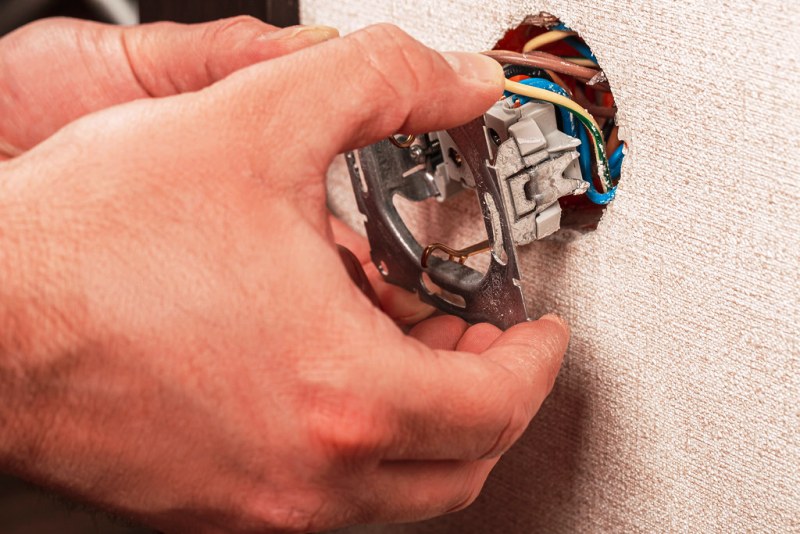
Start by removing the old electrical outlet.
As with all electrical work, make sure to turn off the power at the main breaker. To ensure no current in the outlet, insert the two tips (red and black) of the voltmeter into the outlet. If the meter reads 0 volts, there is no current flowing through the outlet.
Note: If a lamp does not light, for example, this does not mean that there is no current in the socket where the lamp is plugged in. On some older installations, the neutral and phase are reversed. This explains why the voltmeter can show current in the socket (220/230 volt in general).
Caution: older installations sometimes have a switch that controls a socket. Therefore, it is highly recommended to test all outlets with the voltmeter to avoid having current in the wires while working. If the outlet model has visible mounting screws, unscrew them. If the outlet model has a cover, slide the flat screwdriver under the cover to lift it off more easily. Then unscrew the fixing screws.
Gently pull the outlet out of the wall without forcing the wires that are still connected.
Observe the colors of the different wires and their locations to reproduce the same connection when you install the new outlet.
Make a diagram if necessary.
Unscrew the screws that hold the wires in place if they are on the back of the outlet; this is an easy operation. If they are on the front of the outlet, remove the outlet’s cover to be able to unscrew them.
Then remove the plug from the socket altogether.
Install the new electrical outlet.
To install the new electrical outlet, repeat all the steps in reverse. Insert the stripped parts of the wires into their respective slots. Only the ground wire (yellow and green) has a specific connection, and the other two wires have no particular location. Use the N symbol to find the ground wire on the new outlet or your diagram if necessary. Tighten the screws securing the wires so that they are held in place. Replace the outlet, making sure to tuck the cables inside to avoid damaging them. Make sure it is positioned straight on the wall.
Tighten the mounting screws.
If your new outlet has a cover, install it at last. Gently press the cover until it clicks into place. Turn the power back on at the circuit breaker.
Test the new outlet.
Before using the outlet, please check that all your connections are correct and that the outlet has power. Use the multimeter to do this. Put the two tips of the multimeter into the holes in the outlet. If it reads between 220 and 230 volts, the current is flowing correctly. If not, turn the power back on, disassemble the outlet again and check your connections.
Hope this post will help you change your electrical outlet. If you are in doubt, please share your comment below. Our readers will be more than happy to help you.
Read more:
Electrical Wiring: The Essential Notions;
Home Electrical Installation: The Role of Electric Current and Socket;
How to Calculate Your Electrical Power


Pingback:How to Use a Universal Multimeter or Tester - Pipesandwrenches