Summary
Zoom on rainwater harvesting systems
Step 1: Prepare a flat and rigid slab.
Step 2: Lay the connecting pipe at the top of the unit.
Step 3: Install the valve of the recuperator at the bottom of the unit.
Step 4: Install the filter collector on the gutter.
Step 5: Collect rainwater.
Installing a rainwater harvester that saves water for plant watering or car wash is a relatively simple operation if you are a skilled DIY enthusiast or amateur plumber. However, it is essential to make sure you recover as much water as possible while avoiding any organisms’ proliferation. Follow the tips in this sheet to properly install your rainwater harvester.
Zoom on rainwater harvesting systems
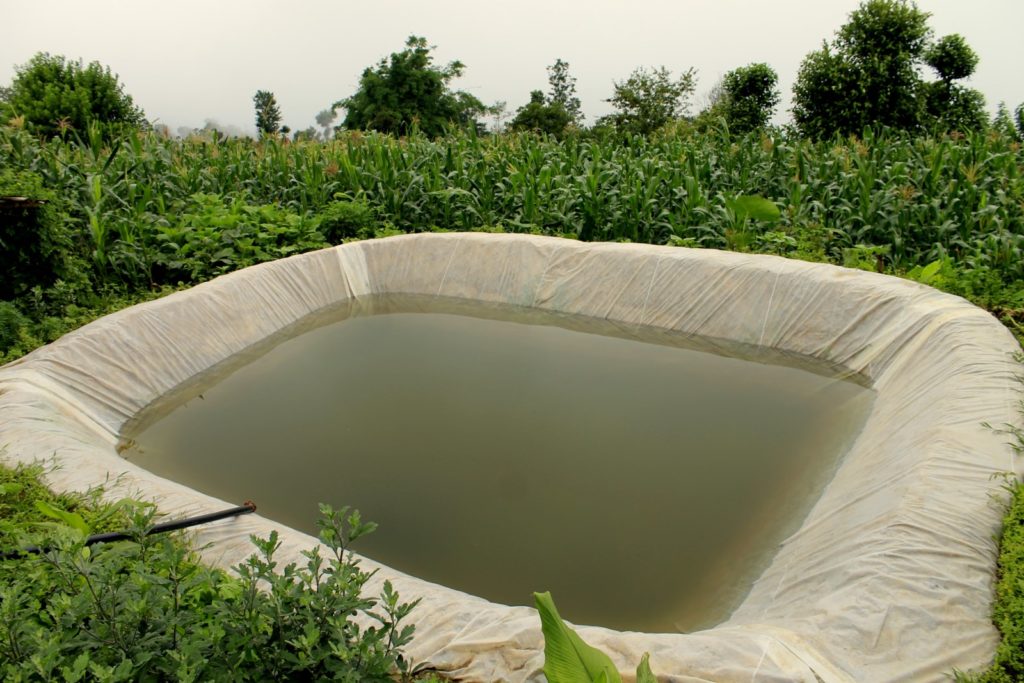
Rainwater harvesting systems are commercially available in various forms and materials; the most common are polyethylene. You can also recycle a plastic tank or another earthen container.
You will have to adapt:
- its volume (between 200 and 1000 liters) to the needs of your vegetable garden or car wash;
- also, the surface of the system’s roof because if the rainwater harvester is too small, it will overflow.

A few simple precautions will help you choose the right solution:
- The tank must be closed to avoid the appearance of larvae and their proliferation.
- It would help if you emptied it during winter to prevent the water from freezing.
- You can connect two tanks to increase their capacity.
- You must carefully determine its location under a downspout; the surface must be flat and stable.
- If you have the choice, choose a northern exposure, the tank will not be exposed to the heat of the sun.
- Some vats are equipped with a tap, and others are pre-cut for opening the water outlet.
- Connect a filtering system upstream of the water recuperator; this will stop the roof’s plant debris.
Caution: the water recovered by this process is not potable. Even sanitary use is not recommended; it is not filtered enough and would damage your machines and pipes. You must then consider other storage and filtration systems with a much higher cost and maintenance. A total consumption requires an even heavier potabilization process.
1. Prepare a flat and rigid slab
- Prepare the surface on which you will place the skimmer.
- For example, you can lay a teak wood slab on the floor; this may be enough to stabilize a loose floor.
2. Lay the connecting pipe at the top of the collector.
- Determine the outlet connection’s intended location on the vessel shell: mark the circular marking at the top.
- Drill the hole with the hole saw mounted on the drill.
- Screw on the outlet hose with its adapter; its length corresponds to the bowl’s distance and the gutter.
3. Place the tap of the water recuperator in the lower part of the machine.
- Proceed in the same way for the installation of the faucet.
- Please place it in the lower part of the faucet to benefit from the full water recovered height. However, you must be able to approach the watering can.
- Adapt the drilled hole to the tap hole.
- Screw on the nut with seal and then the faucet.
4. Install the filter collector on the gutter.
The filter collector is inserted into the downpipe, so you must cut the gutter.
- Put the water recuperator in place.
- Locate the collector on the downspout opposite the connection pipe that you have previously installed.
Essential: Allow for a slight slope to facilitate the flow to the tank.
- Saw off the gutter pipe with the hacksaw:
- once in the lower part of the collector;
- a second time at the top of the gutter.
- Cut the collector with the cutter to adapt its diameter to that of your drain.
- Then connect the connecting pipe to the collector.
Particular case: it may be necessary to remove the entire downspout to fit the collector at the gutter’s top and bottom, depending on the gutter’s location. To do this, loosen the clamps that hold the downspout on the facade.
5. Collect rainwater
To make it easier to fill your watering can fit a piece of garden hose to the faucet.
Purposefully we did not make this post too long, so you can drop down a few comments to share your experience in the section below. Hear ya!


Pingback:How to Manage Storm Water | Golocal business
Pingback:Rainwater Harvesting: Choosing a Winter-Resistant Model – Local biz blog