

Summary
1. Leaking faucet: how to change the faucet seal
2. Grinding and changing the valve seat
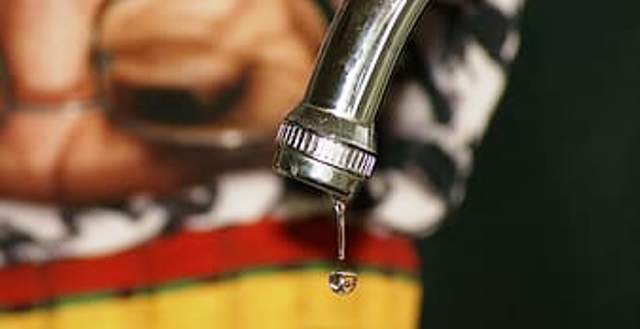
A dripping faucet is not uncommon, and while this can be annoying in terms of noise, it is above all a major additional expense.
A dripping tap can cause a loss of 4 litres per hour, which is equivalent to a consumption of about 35 m3 per year!
This plumbing repair is not complicated to carry out, it is necessary either to change a part of your valve or to carry out an intervention on its seat.
Repairing the seals of a leaking tap
Other types of plumbing interventions are quick and within everyone’s reach: the leakage of a copper pipe, the leakage of a WC, a change of a WC float, the unclogging of a pipe or a WC and the hot water systems.
1. Leaking faucet: how to change the faucet seal
Regardless of the type of valve, care must be taken to dismantle it without forcing it.
Although the valves may look different, they all have approximately the same system for disassembly.
Before any intervention, turn off the water and close the bung.
Then start by accessing the fixing screw. To do this, remove the head of the tap and then change the gasket.
Removing the valve head and changing the gasket:
a. Unscrew the pellet from the head if it has one
If it is not unscrewed, insert a blade to pop it off, taking care not to damage the cap and the valve head.
b. Unscrew the head screw and then remove it
If the screw resists, tap lightly on the lever and the screw head.
If the head gets stuck, apply pressure underneath the head with a screwdriver and a cloth.
If you can’t get any result, try some WD-40 or similar lubricants. Then make sure to wipe the excess lube off the head and with the help of a pipe wrench, you should be able to remove the head screw.
As a last resort, use an extractor.
Good to know: The pipe wrench is a wonderful plumber tool designed to tighten and loosen faucet fittings and other components on your water line.
c. Remove the nut holding the seal and remove the seal and change the gasket and reassemble the head
For any handyman, DIY job, this should be an easy task. But if you need help, do not hesitate to call a professional.
2. Grinding and changing the valve seat

Plumbing made easy and convenient
If, after changing the seal, the leakage from the valve persists, the seat must certainly be rectified or changed. Kits for this purpose are available on the market.
To grind the seat, a reamer is passed through the valve seat several times to remove any roughness. If this is not sufficient, it should be changed, especially if your valve is old and worn.
Good to know: if you need a professional to help you with additional repairs, Joe Cole Plumbing is the name to remember. They have a team of professional plumbers for commercial, industrial and residential clients in Fort Lauderdale and serve all of Miami-Dade, Broward and Palm Beach counties.
You are now done with repairing a leaking faucet. Please, remember to share this post and leave your comments. Should you wish to read on something in particular, please jot down your request in the comment section below, and we shall revert back to you with as much information as possible while encouraging our readers to share their life experiences and staying posted on our blog.


