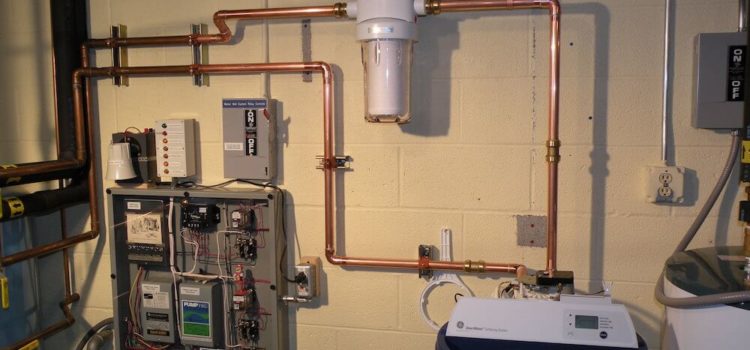
Limescale or Hard Water is the main cause of death to appliances, kettles and water boilers. To clean limescale is a very difficult task and if left too late its normally impossible to get rid of. The most effective way to descaling is having not to descale. There is a variety of filters for water that can be used. The best protection against limescale build-up for your appliances and home plumbing is to have a water softener fitted to the main water inlet to your property. Water softeners cost between 300 to 700 pounds depending on your household size.
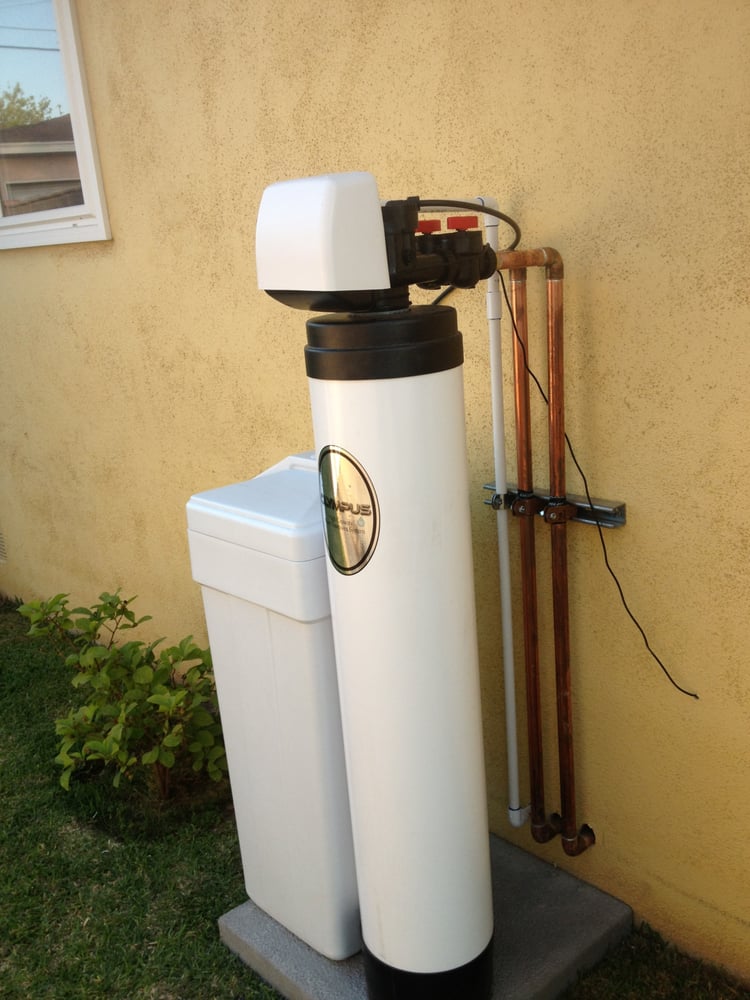
Planning Your Installation. Always observe the water bylaws. Ensure there is only one water main supply, that you have allowed adequate space for access to the unit for salt filling and possible maintenance at a later stage. Check the water pressure, locate the main water supply stop cock, a drain facility and a power supply to connect the unit to.
Water Pressure Test. It is important that a pressure check is carried out. Low and high-water pressure can result in either damage to, or failure of the softener. Although the softener is pressure tested it is recommended to fit a pressure limiter should your pressure exceed 5 bar (70 psi) also recommended is that any water appliance be fitted with a leak controller.
Siting the Softener. Where possible, this should be close to the water supply main. Take care to allow hard water to take off points for a drinking water facility and or an outside tap. A good option for fresh water would be to leave the cold water tap in the kitchen as the drinking water facility. If this is not possible an easy DIY installation filtered water kit can be installed. If the Stopcock is in an inconvenient position to create a hard water supply, I recommend the fitting of a reverse osmosis system. Keep the distance between the drain and the Softener as short as possible. Ensure that both the drain and overflow are not subject to freezing or over 49’C. If seating the softener inside a cupboard, ensure that the base is adequately supported. If the softener is being installed within your loft etc., it is recommended to house the softener inside a 95-liter tank and insulate well. The overflow on the tank must be below the softener overflow and be a minimum of 3/4 inch in size.
Non-Return Valve. In single dwellings a single check valve should be fitted. This item can be purchased from any plumbing shop.
Check list. You will require two T valves, isolator valve and two flexible hoses to connect your inlet and outlet to the unit.
Before starting installation of the valves ensure that the stopcock is in the closed position.
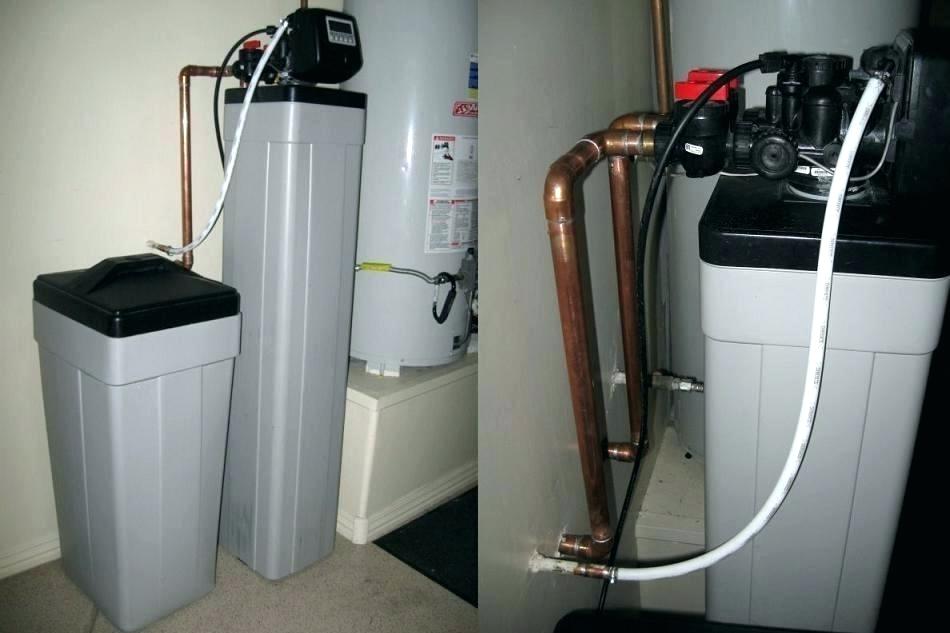
Connecting to the softener. Once you have completed the installation of the valves put the inlet and outlet valves in the closed positions and open the bypass valve. You can now safely return the stop cock to the open position. Connect the inlet and outlet flexible pipes to the softener. The softener inlets and outlets should be indicated either with the word’s inlet or outlet or with an embossed directional arrow on the softener tails. Normally the softener tails are in a configuration of three with the center normally being the waste outlet.
Waste Pipe Installation. All softeners are provided with a waste hose on some units this is preinstalled to the softener. Should this not be the case on your machine use the connection fitting at the end of the supplied flexible pipe to connect to the softener drain connection. Run the drain hose to either an up stand or an outside drain. A minimum air gap of 20mm must exist at the end of the drain line. Softened water will have no adverse effect on a septic tank. If you need to extend the drain hose this can be done by connecting to a 15mm copper tube for a maximum run of 8 meters with a minimum daytime pressure of 40psi. Ensure that the drain hose is not kinked in any way as this will lead to an overflow of the machine. The drain hose can run up hill to a maximum of 3 feet with a minimum pressure of 40psi.
Overflow Connection. The hose from the overflow should be cut from the drain hose. The overflow connection is the white half inch hose spigot on the rear or side of the cabinet. No clip is required for this connection. The overflow must be run downhill through an outside wall without kinks or restriction. It is recommending the overflow hose be visible when it exits the Outside wall.
Electrical connection. Connect the transformer provided to a continuous electrical connection supply with the power off. Plug the flying lead from the transformer into the electrical connection on the controller. Ensure the flying lead cannot get caught on the camshaft or any moving parts on the machine
Preparing the softener to go into service. Now that all the connections have been completed it is advisable to put approximately 5 liters of water into the brine tank. You may also at this point put a quantity of salt into the tank. Do not allow the water softener salts level in the brine tank to exceed the height of the overflow. The amount of salt used will depend upon the type of machine. You should never let the brine tank become completely empty of salt and it is advisable to check the salt levels on a weekly basis until a usage pattern has been established.
Setting the machine to service. To set the machine to service simply alter the position of the inlet and outlet valve and turn the bypass valve to the off position. It is recommended that this procedure is completed in the following order.
1, Turn the Softener inlet valve to the on position
2, Turn the bypass valve to the off position. Allow approximately five minutes to allow the incoming water to build a level of pressure before completing step 3.
3, Turn the Softener outlet valve to the on position.
You should now complete any programming instructions that apply to your machine and perform a manual regeneration. A manual Regeneration is performed at this stage to allow you to confirm that the unit has no leaks from the installed valves and the Waste runs free.

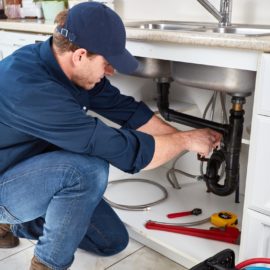
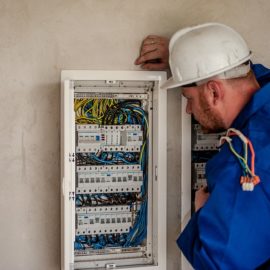
With how complicated water softeners can become, I can really see the need to properly install it through the help of an expert. If we can find someone like that, I’ll definitely be able to get a lot of the newer water-based appliances here working properly. I’ll make sure I work with a local water softener expert so that this can be installed without issues.