Clean, pure water is essential for a healthy lifestyle, and installing a water purifier in your home ensures that you and your family have access to safe drinking water. In this comprehensive guide, we’ll walk you through a step-by-step process to install your water purifier seamlessly. Follow these six simple steps to enjoy the pure flow of refreshing water in your home.
Step 1: Gather Your Tools and Materials
Before diving into the installation process, gather all the necessary tools and materials. You’ll typically need an adjustable wrench, a screwdriver, Teflon tape, a bucket, and, of course, your water purifier kit. Having everything on hand will make the installation smoother and more efficient.
Step 2: Shut Off the Water Supply
Begin by turning off the main water supply to your home. Locate the shut-off valve, usually found near the water meter. This ensures that you can work on the installation without water flowing through the pipes, preventing any potential leaks or mess during the process.
Step 3: Choose a Suitable Location
Select an appropriate location for installing your water purifier. It’s often recommended to install the unit close to the main water supply for easy access. Ensure that the chosen spot allows enough space for the purifier and provides a convenient connection to the plumbing.
Step 4: Connect the Water Purifier
Follow the manufacturer’s instructions to connect the water purifier to the plumbing. Use the adjustable wrench and Teflon tape to secure the connections tightly. Pay close attention to any specific guidelines provided by the purifier kit to ensure a proper and leak-free installation.
Step 5: Install the Faucet
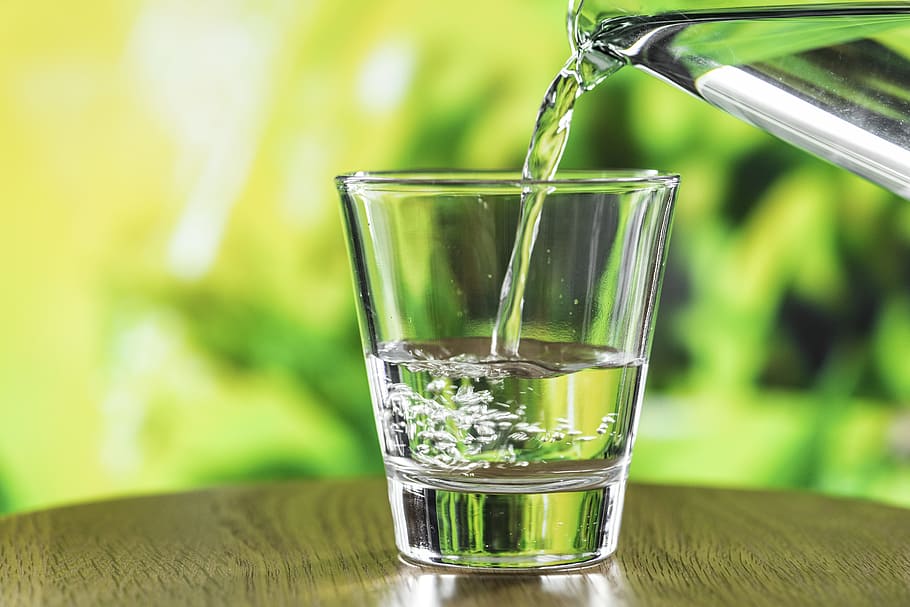
Many water purifiers come with a separate faucet that dispenses purified water. If your kit includes one, install it according to the provided instructions. This often involves drilling a hole in the sink or countertop for the faucet. Make sure to align and secure it properly to avoid any issues with functionality.
Step 6: Check for Leaks and Test the System
Once the installation is complete, turn the main water supply back on and check for any leaks around the connections. Tighten any fittings if needed. Allow the system to run for a few minutes to flush out any air or impurities. Test the purified water by dispensing some through the newly installed faucet. Ensure that the system is functioning correctly, and the water flows clear and clean.
Enjoying the Pure Flow
Installing a water purifier in your home doesn’t have to be a daunting task. By following these six simple steps, you can ensure a smooth and successful installation process. Now, with your purifier in place, you can enjoy the pure flow of refreshing, clean water whenever you need it.
Additional Considerations for Maintenance
Beyond the installation process, it’s crucial to understand the maintenance requirements of your water purifier. Regularly change the filters as recommended by the manufacturer to ensure the continued effectiveness of the purification system. Additionally, keep an eye on the faucet and plumbing connections for any signs of wear or potential issues.
Quenching Your Thirst for Clean Water
As you conclude the installation process, revel in the satisfaction of providing your family with a continuous supply of clean, purified water. The effort invested in installing a water purifier is a small price to pay for the peace of mind that comes with knowing you have access to pure, quality water in the comfort of your home.
In addition to the physical benefits of clean water, consider the positive environmental impact of reducing your reliance on bottled water. By having a reliable water purifier at home, you contribute to the reduction of plastic waste, making your commitment to a healthier lifestyle extend beyond your household.

