All plumbing must be built during a complete construction or remodeling to link a house to the sanitary network and establish water inlets and outlets. Connecting your home to the plumbing system is still a complex task that should be left to a professional. What are the most important considerations to make before beginning this project? This article will assist you in gaining a comprehensive understanding of the subject.
Procedures for Connecting Depending on Your Situation
The steps to install your plumbing will differ depending on whether you reside in a building or a house.
In a Building
The meter is in place, and the building’s network is already connected. When you visit the premises, contact the water supplier and submit your contact information and the current usage index to have the subscription set up in your name.
The New House
It must be linked to the existing collective network that runs through the area. The owner is responsible for the connection work, while the water supplier – whose name was provided to you by your local town hall – is responsible for the meter placement. The Town Hall must also supply you with a water quality analysis, allowing you to select the proper plumbing components for your project.
The Renovated House
The shared network is frequently already connected to the restored house. However, if the installation is too old, it may be required to be redone. It’s possible that some pieces are no longer up to code (ancient lead pipes, for example) or that a new meter will be required.
When the water supply and drainage networks have been installed in a new or renovated home, it is important to call the water supplier, who will place the meter and arrange the supply contract.
Installation of the Water Meter and Elements After the Meter
The Water Meter
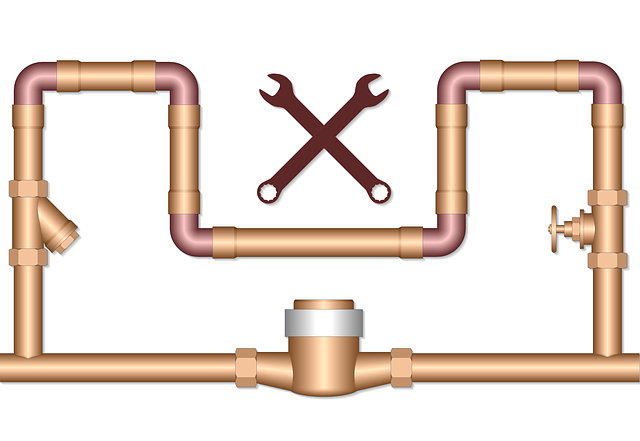
The water supplier is responsible for installing up to the meter, typically positioned in a box on the property line.
To install and open a water meter, you’ll need to consult a plumber.
Elements After a Meter: Stop Valve, Plug, Pressure Reducer
Several components are required for your sanitary system and must be put on your meter.
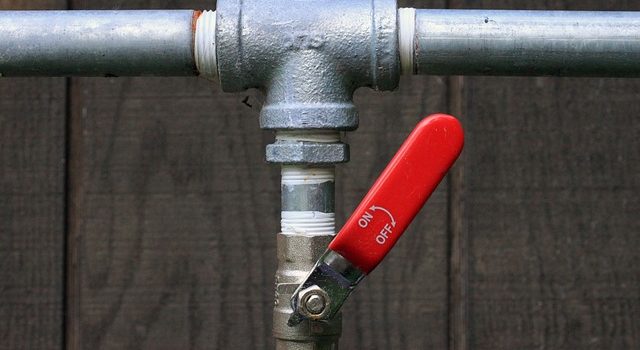
In the event of a leak or maintenance on the indoor network, the shut-off valve, located immediately before or just after the meter, allows the water supply to be turned off.
To avoid possible water contamination, your water meter must be equipped with a non-returning valve to prevent water from your network from mistakenly returning to the public system.
Finally, a pressure reducer should be fitted to keep the pressure in the pipes under control.
Create Water Inlets and Outlets
Water inlets and outlets may not be available in the room where your toilets and appliances will be installed. What is the best way to achieve this? It will suffice to dig the wall and transplant itself onto the existing one if your room is near a washroom, kitchen, or other location where water supply and drainage pipes pass.
On the other hand, a pumping device must be installed if the part has no inlet or outlet.
It is advised that an expert conduct a feasibility study of such an installation.
What Type of Drain Should I Choose for the Evacuation System?
There are two types of wastewater discharge processes: single and separate discharge, each with its features. A skilled plumber should be able to give you a rundown of the various processes involved in wastewater discharge.
Which System Is Used for Domestic Hot Water Production?
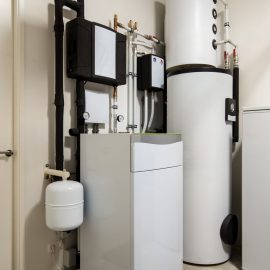
The chosen hot water system is an integral part of the sanitary installation. Various options are available to generate the necessary hot water: gas, electricity, solar, and others. As a result, the type and size of the water heater must be considered.
Choosing the Material and Type of Pipe Laying
Pipelines are utilized to transport water and waste out of your system. Pipes come in a variety of shapes and sizes. We’ll go over the features of each one so you can select the one that best fits your needs.
What Type of Installation Should I Choose for My Pipes?
Recessed or visible plumbing is an option. The first option is the most appealing, but if there is a problem, you will have to dig up the walls and possibly shatter the tiles to make repairs. Even if it involves covering the pipe with a detachable and unobtrusive formwork, it may be more appropriate to lay the piping on the surface.
Which Materials to Choose for Your Pipes?
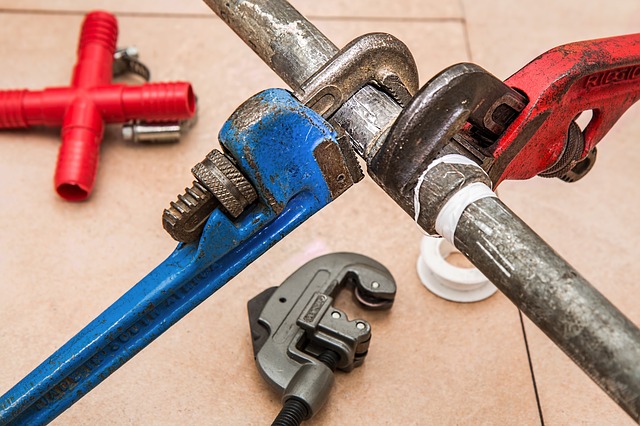
The materials also depend on the type of installation chosen; you might choose between copper and multilayer in an embedded structure for aesthetic reasons.
Copper
Copper is a durable, attractive, and dependable metal. Because copper is a complex material to work with, it must be installed by a professional plumber (bending, welding, etc.)
The Multilayer
Multilayer has numerous advantages, and it is becoming more popular among professionals. It’s UV-resistant, may be mounted on the surface or the wall, and doesn’t need to be soldered while providing a long service life.
Which Dimensions Should I Choose for the Pipes?
The size of the pipe depends on the item being transported, whether it’s water inlets or outputs, and the flow rate and content.
How High Should You Install Your Pipes?
The heights at which pipes should be installed vary depending on where they should be installed. There are guidelines for your bathroom, WC, and kitchen.
Which Fittings to Choose?
Depending on the pipe’s material and diameter, numerous types of fittings are available:
– Welded fittings: bending, welding, socketing, etc.
– Seamless fittings are more convenient for a private individual because they are tailored to each material. These are designed for plumbing specialists and require a certain level of expertise.
I hope the information above has helped resolve your plumbing issues. Please leave your comments in the space below for more information and tips.

