

When it comes to fitting plastic drainpipes together, most people will hire plumbers for that job. However, did you know that’s something that can be done by DIYers?
How to Join 1/2-Inch to 4-Inch Iron Pipe Size ABS, CPVC or PVS Pipes?
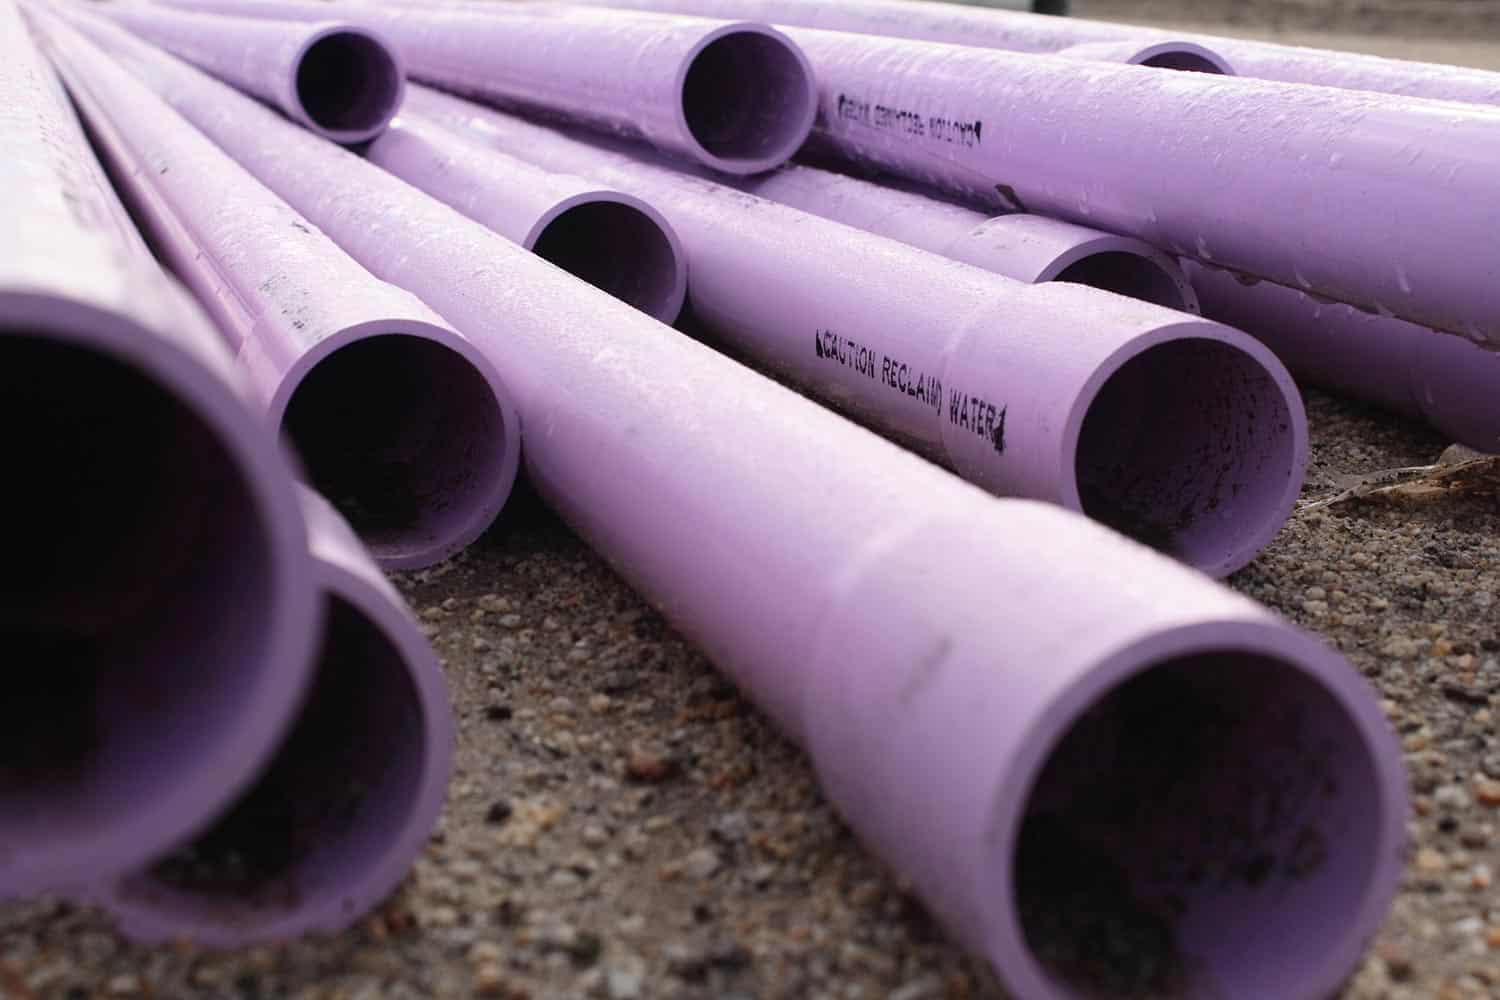
Materials you’ll need for this project:
- PEX Pipe
- PVC pressure pipe
- Galvanized pipe
- Black iron pipe
- CPVC pipe
- Copper pipe
- Corrugated pipe
- CSST pipe
- PVC DWV pipe
- ABS DWV pipe
- Sewer pipe
- Polyethylene pipe
- PEX fiitings
- PVC Pressure fittings
- Copper fittings
- Galvanized fittings
- CPVC fittings
- PVC DWV fittings
- CSST fittings
- ABS fittings
- Corrugated fittings
- Polyethylene insert fittings
- Cement
- Plumbers putty
- Pipe support and clamps
- Plumbers tape
- Pipe insultation
- Wax rings
Instructions on How to Join 1/2-Inch to 4-Inch Iron Pipe Size ABS, CPVC or PVS Pipes
 Step 1:
You start by eliminating any extra cement from the outside. A well-constructed joint will have a continuous bead of cement around the outside. Check for an adequate coating of cement and that there are no gaps of space around the perimeter.
Step 2:
Trim the pipe so that it is square with the axis. Seal all joints at the fitting hub’s base. An angled incision might cause joint failure.
Step 3:
If the pipe end is damaged or cracked, remove at least 2-inches of pipe beyond any obvious cracks.
Step 4:
Using a knife-edge, file, or deburring tool, remove any pipe burrs from the inner and outside diameter of the pipe.
Step 5:
Now, it’s time to sharpen the pipe end by 10 to 15 degrees.
Step 6:
Remove surface debris, oil, or moisture from the pipe fittings with a clean, dry cloth.
Step 7:
Fit the pipe dry. The pipe should go 1/2 to 1/3 of the way into the fitting hub with little pressure. Pipe and fittings that are too tight or too loose are not recommended.
Step 8:
Apply enough cement to the interior of the fitting with an applicator. The applicator should be half the diameter of the pipe.
Step 9:
Apply primer to the fitting socket and vigorously push it into the surface to coat the surface. Primer is not advised for ABS pipes.
Step 10:
Primer should be applied to the pipe surface up to 12 inch beyond the hub depth. Work the primer into the surface aggressively.
Step 11:
Spread a second layer of primer to the fitting socket, pressing it into the surface thoroughly.
Step 12:
After priming the surface, clean off any excess primer from the fitting socket.
Step 13:
While the primer is still wet, coat the surface with cement. Before using, give the cement a good shake.
Step 14:
Spread a thick, uniform coating of cement to the pipe surface up to 12 inch beyond the hub depth. Work the cement into the surface vigorously.
Step 15:
Apply a medium coating of cement to the fitting socket by forcefully rubbing it into the surface without redipping the applicator in the cement. Coat no farther than the socket depth on a bell-end pipe.
Step 16:
Apply a second full layer of cement to the pipe surface, working it in aggressively.
Step 17:
Spread a second layer of primer to the fitting socket, pressing it into the surface thoroughly.
Step 18:
Assemble the pipe and fittings fast before the cement dries to join them. If the cement has solidified, cut the pipe, discard the fitting, and begin over.
Step 19:
Put the pipe into the fitting hub, giving it a quarter turn as you go to ensure a uniform distribution of cement within the joint. After the pipe has touched the bottom of the socket, do not quarter-turn it.
Step 20:
Keep the pipe and fitting together until the pipe does not come apart. Allow the joint to heal before doing hydrostatic testing. Follow the manufacturer’s instructions for set and cure timeframes.
Step 21:
Eliminate any extra cement from the outside. Joint failure may occur if a void or significant gap arises around the periphery.
Step 22:
Ensure that all pipe system components are properly aligned and free of tension. After the pipe has been solvent-welded, do not bend or pull it into place.


