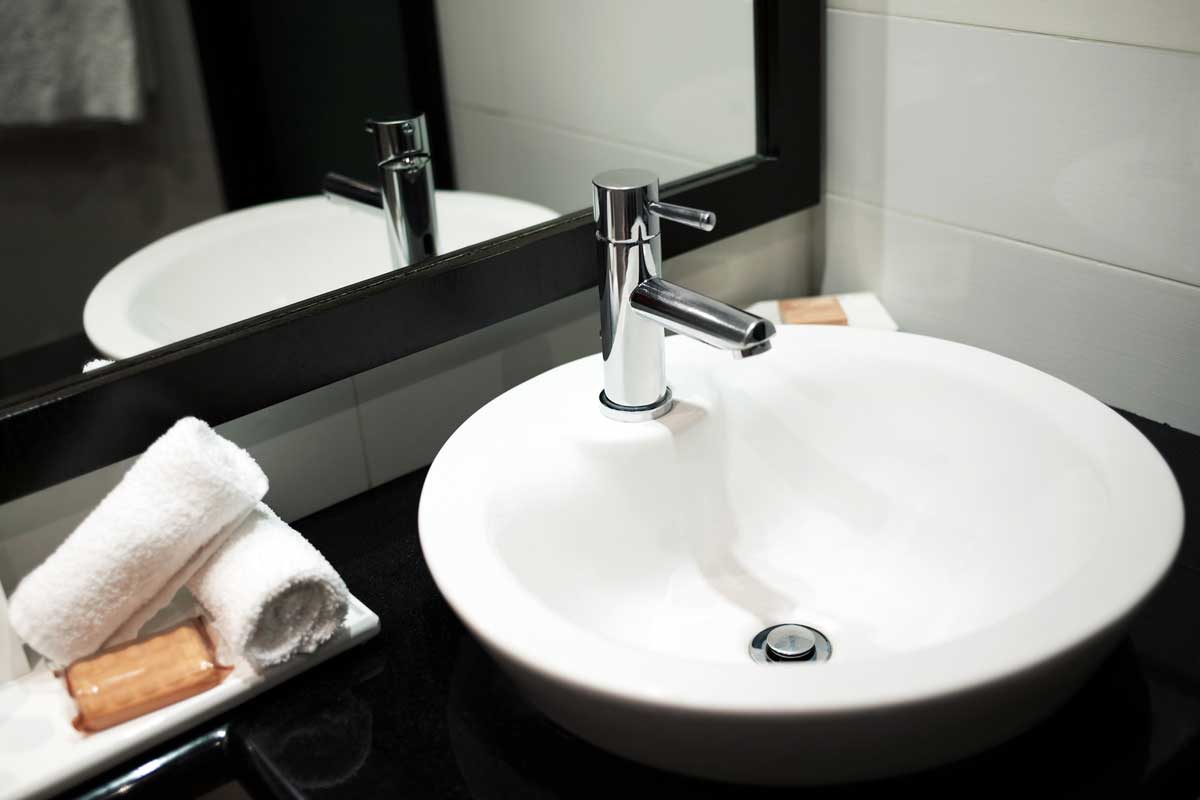
Do I need a plumber to install a bathroom sink? The answer is a plain no!
Today, with the wide range of online DIY guides, you can install a sink by yourself –whether it’s for the bathroom, kitchen or laundry room. Let’s see how!
Steps to Follow

First Step: Obtain the appropriate tools for the work. You can install a new sink using basic tools and new components that match the valves currently installed in your plumbing. Check to see whether you have:
- Silicone caulking
- Plumber’s wrenches, either pipe wrenches or slip-joint pliers
- A basin wrench
- Plumbing socket set
- Hoses that are bendable
- Sink mixer
Second Step: Close the water supply valves. It is vital that you turn off the water supply to the sink before removing it, which is usually located beneath it. If the valves are not located beneath the sink, you must switch off the main water supply. This is usually found on a lower level or in the basement, next to the water meter.
Now, before beginning, turn on the hot and cold water in the sink and check sure no water comes out.
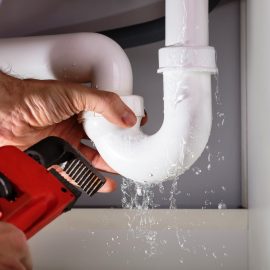
Third Step: If you’re changing a sink, you’ll need to take out the old one before installing the new one. Using locking pliers or a crescent wrench, disconnect the supply and drain lines from the faucet. It is typical for a tiny quantity of water to come out when you do this. To manage the water that spills out, just use a bucket or a towel.
Fourth Step: All new sinks should have a template of the mounting aperture with the position of the faucet holes marked, as well as a cutout for the sink. The template may be used to ensure that the sink will fit in the specified place. If it doesn’t, you may need to perform some trimming or cut the entire aperture if you’re putting a sink in a new home.
Most new sinks come with clips and screws to keep the sink in place. When you buy a faucet, it may come with a drain and tailpiece for the sink. If it isn’t already included, get one before you begin. Make sure that the supply lines for the faucet correspond to the faucet and valves beneath the sink before you begin.
Fifth Step: Set a small bead of silicone around the sink’s bottom lip and insert it into the hole. Remove any extra silicone and smooth any lines. You may need to caulk in a variety of areas depending on the shape of the sink and the aperture where it connects to the plumbing lines.
Put a bead of silicone under the sink, have someone hold it in place, then insert the connection clips that came with the sink.
If you’re putting the sink in a granite or stone counter, you may need to pre-drill holes with a diamond carbide tip.
Sixth Step: In addition to the sealing caulk, connective clips are frequently provided with new sinks to assist in securing the units into place. The design varies depending on the kind of sink and the design, but they normally function as a lever to keep the sink in place. Follow the instructions that came with the new sink and stick to the manufacturer’s recommendations.
Seventh Step: New faucets are typically screwed into the faucet assembly clockwise. Some faucets have a rubber gasket around the base and simply screw on, while others require the use of silicone sealant to fasten to the sink or counter. Reach up below the faucet and use the lock nuts supplied with the installation package to secure it.
Eighth step: Drop the tailpiece into the sink and tighten the tailpiece nut from underneath. Some sinks include gaskets that fit between the sink and the tailpiece. If it doesn’t, make a seal with non-hardening plumber’s putty or silicone. To secure the tailpiece, use the provided gasket, cardboard washer, and locknut.
Ninth Step: Check that the water lines are in sync with the new fixture. If the lines that came with your sink do not match the valves, you can purchase new lines that do.
Tenth Step: Water supply lines should be screwed into the new faucet’s appropriate joints. The size of the connections should be specified in the installation instructions for the individual faucet.
Eleventh Step: The pop-up drain is a mechanism that allows you to open and close the sink drain. It is typically comprised of a basic metal rod with a ball connected to it. Drop the stopped rod into the sink from the top, then slide the short end of the rod into the aperture on the tailpiece, ensuring that the opening for the ball is facing the lever for the pop-up. Install according to the instructions.
Twelfth Step: Finish by applying silicon around the top of the sink and anyplace the sink basin contacts the wall, filling any gaps with a thin bead of caulk. Allow the caulk to cure for about 24 hours before turning on the water and inspecting your work for leaks.


