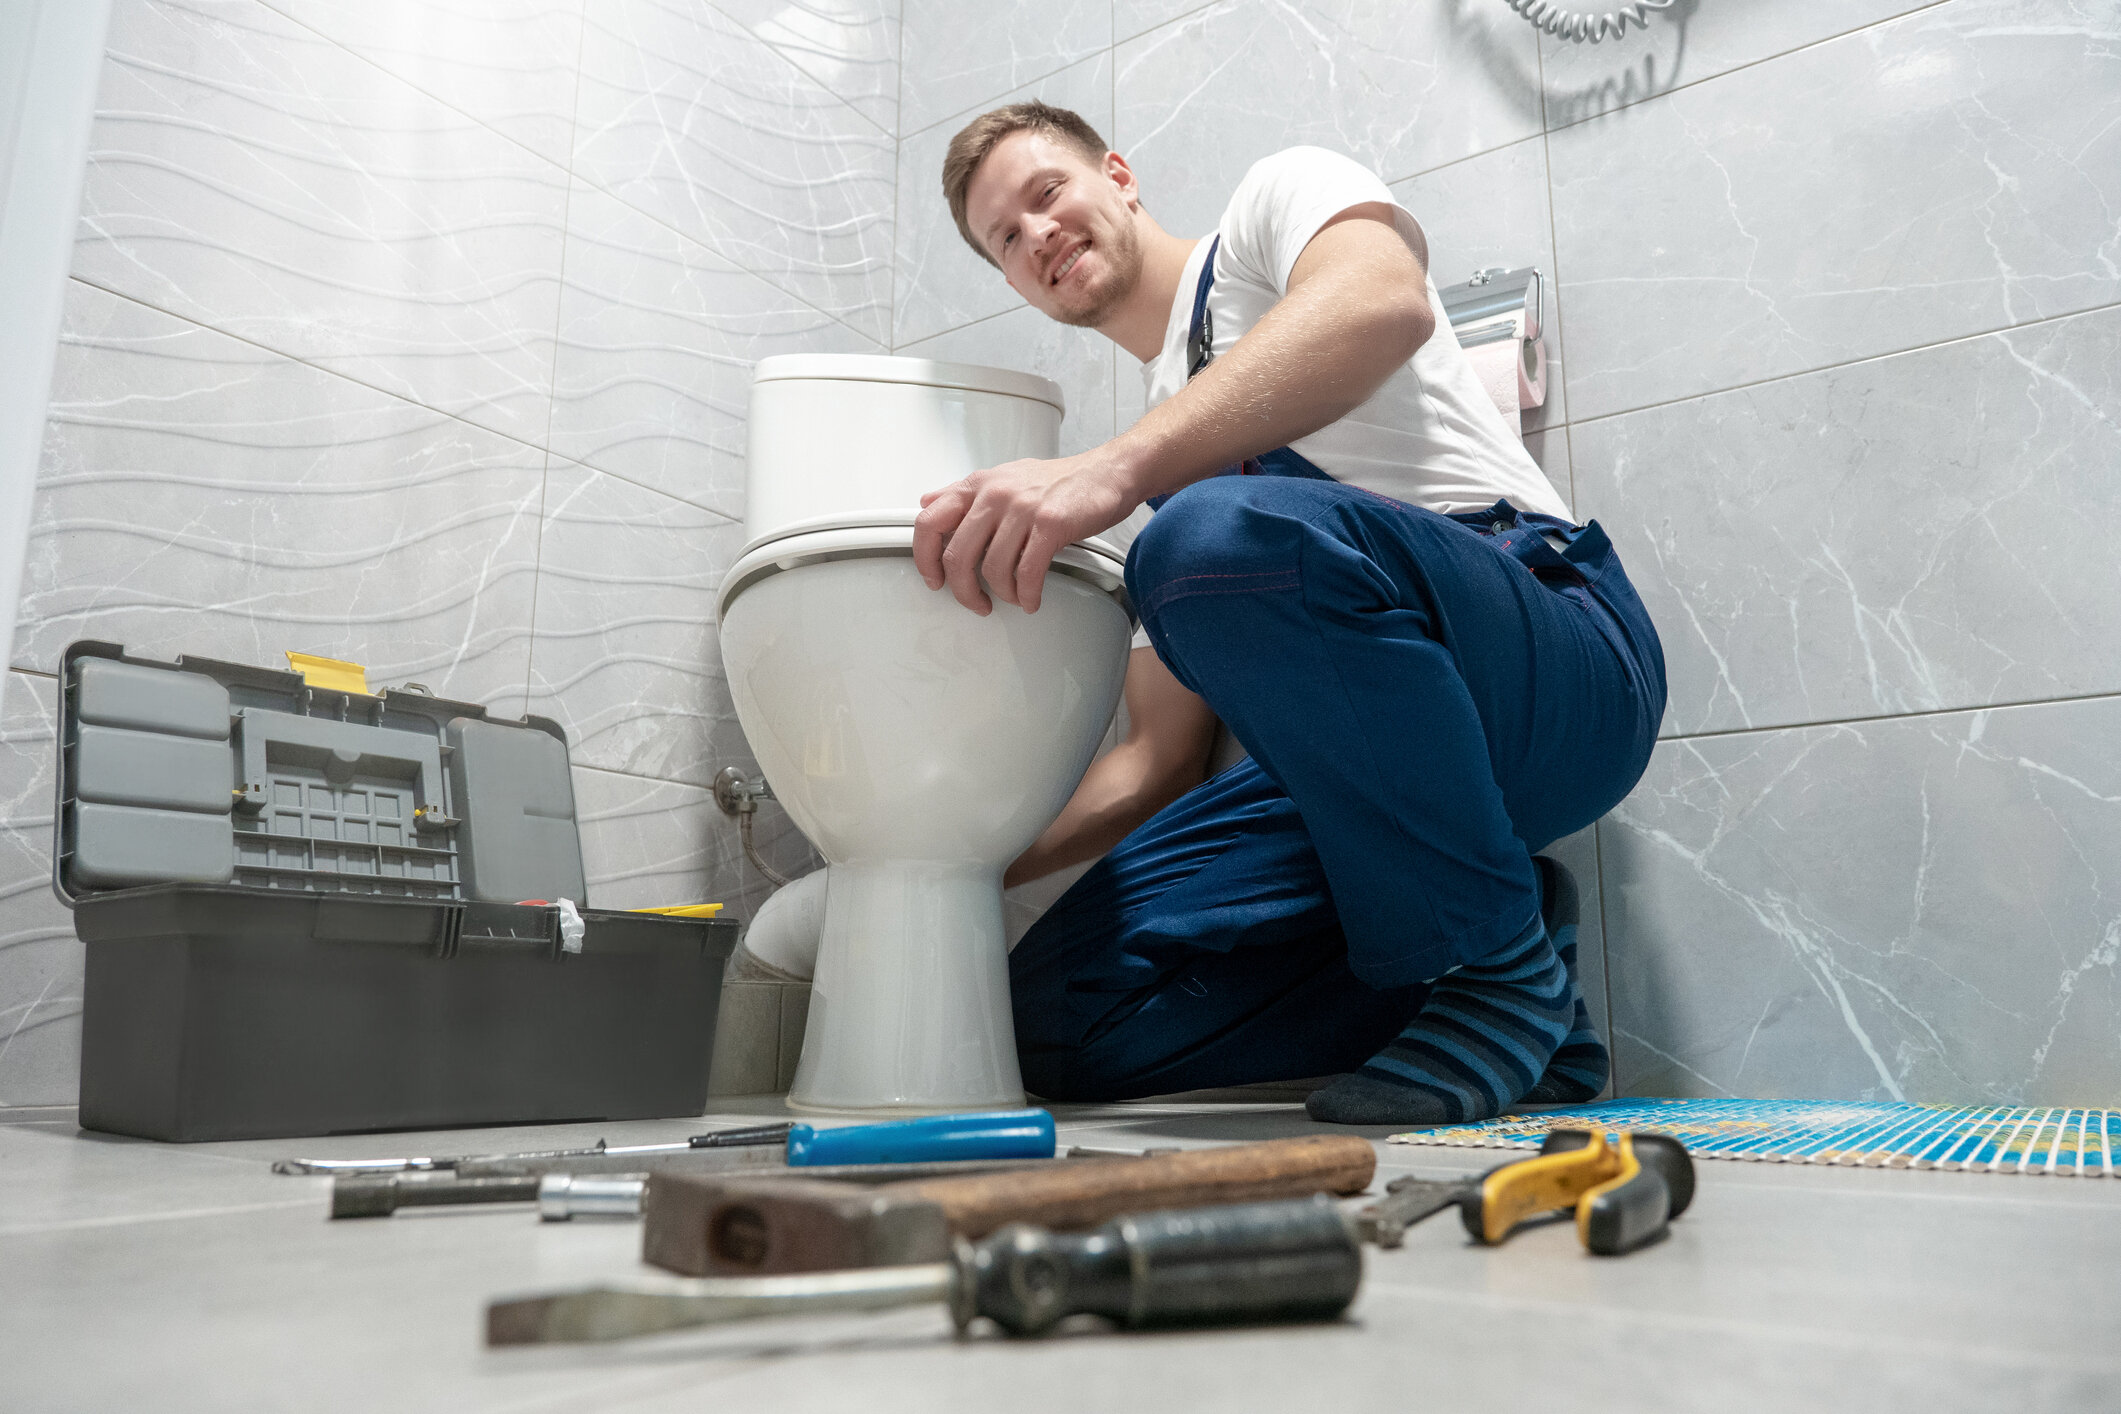
Installing or changing a toilet seat is an effortless task. All you’ll need are some basic tools to replace your toilet seat – whether it’s old, broken, or you want a new look – and a few handy tips.
The New Seat

1. Before purchasing a new seat, measure your present toilet bowl. Most toilets have conventional dimensions, so any new seat should fit. If you want to be absolutely certain, use a tape measure to measure the distance between the bolt holes in the toilet bowl. Then, on the replacement seat, ensure sure the space between the bolts is the same.
2. Select the type of seat you desire. Toilet seats are available in two basic types, and a home supply store should have a variety of brands to pick from. The basic shape is circular, but you can opt for an extended shape if you wish. A “whisper close” seat, which features unique padding on the bottom to keep it from crashing down on the bowl, is also available.
Now, toilet seats are available in a variety of pricing ranges. You should be able to locate the lowest for $20-30, but others for double that or more.
3. Select a seat color that complements your present toilet bowl. Toilet seats come in a range of hues. Choose one that complements the toilet bowl (typically white) for a more traditional aesthetic, or a contrasting color for a more daring statement. You may, for example, use a blue or wooden toilet seat to contrast with a white bowl.
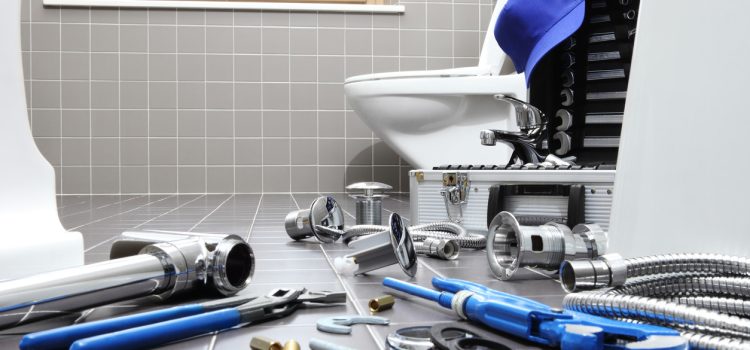
4. Gather your project’s tools. You’ll only need a few simple ones to complete this job. If you don’t already have them, go to the hardware shop and get:
- pliers or an adjustable wrench
- a screwdriver with a flathead
- WD-40, for example, can be sprayed (optional)
- a compact hacksaw (optional)
Removing The Old Seat
5.. If required, remove the bolt caps. Examine the old toilet seat’s edge near the tank. Plastic caps, one on each side, maybe seen where the seat’s hinges join to the toilet bowl. If this is the case, carefully slip the flathead screwdriver under their edge and peel them off.
If there are no bolt covers, you will only see the bolts themselves connecting the seat hinges to the toilet bowl.
6. Unscrew the nuts. Look below the edge of the toilet bowl with your adjustable wrench. Bolts should be visible passing through the porcelain and being held in place by nuts. Each side of the bowl will have one. Put the adjustable wrench on each nut. To loosen the nuts, turn the wrench counterclockwise.
7. Remove the bolts from the old seat. The bolts at the base of the hinges on the top of the toilet bowl may be slotted to accommodate a screwdriver. If this is the case, use yours and crank each bolt counterclockwise until it comes out. Alternatively, you may keep rotating the nuts counterclockwise until they come off.
Remove any washers that were between the nut and the bowl on your old seat.
8. If the old bolts are stuck, wrestle with them. The bolts on certain older toilets may be corroded or trapped in place by filth. If that’s the case, they might not come out easily. Don’t be alarmed; you have alternatives! Spray WD-40 on the threads of the rusty bolts first. Allow it to sit for 10 minutes before attempting to remove the bolts again.
Installing The New Seat

9. Install the replacement seat. The seat hinges will be pre-installed. Place them exactly where the previous seat’s hinges were.
10. Take a bolt and hold it in your hand. The hinges will have holes in which the bolts will be put. Because the toilet seat is installed precisely where the previous seat was, these holes will be immediately on top of the holes in the toilet bowl’s top. Insert the bolts through the hinge and bowl holes, placing the head of the bolt on top.
11. Attach the nuts to the bolts. Take one of the nuts. Take a look at one of the toilet bowl’s sides. You should now be able to see the end of one of the bolts poking through the top of the bowl. Turn the nut (clockwise) onto the bolt until it is as tight as you can get it by hand. Tighten the nut even further using your adjustable wrench.
12. Alternately, snap the seat into place. Some toilet seat types do not have the bolts driven through the hinges. Instead of driving the bolts through the hinges first, you drop them directly into the holes on either side of the toilet bowl. Then, using nuts, secure them in place. The hinges of the seat will either snap onto or glide over the bolt heads.


